A stone supplier's view of what happens on site before and during pool coping installation — from profile drawings and numbered packing to setting, sealing, and the questions that prevent rework.
From the stone supplier's bench
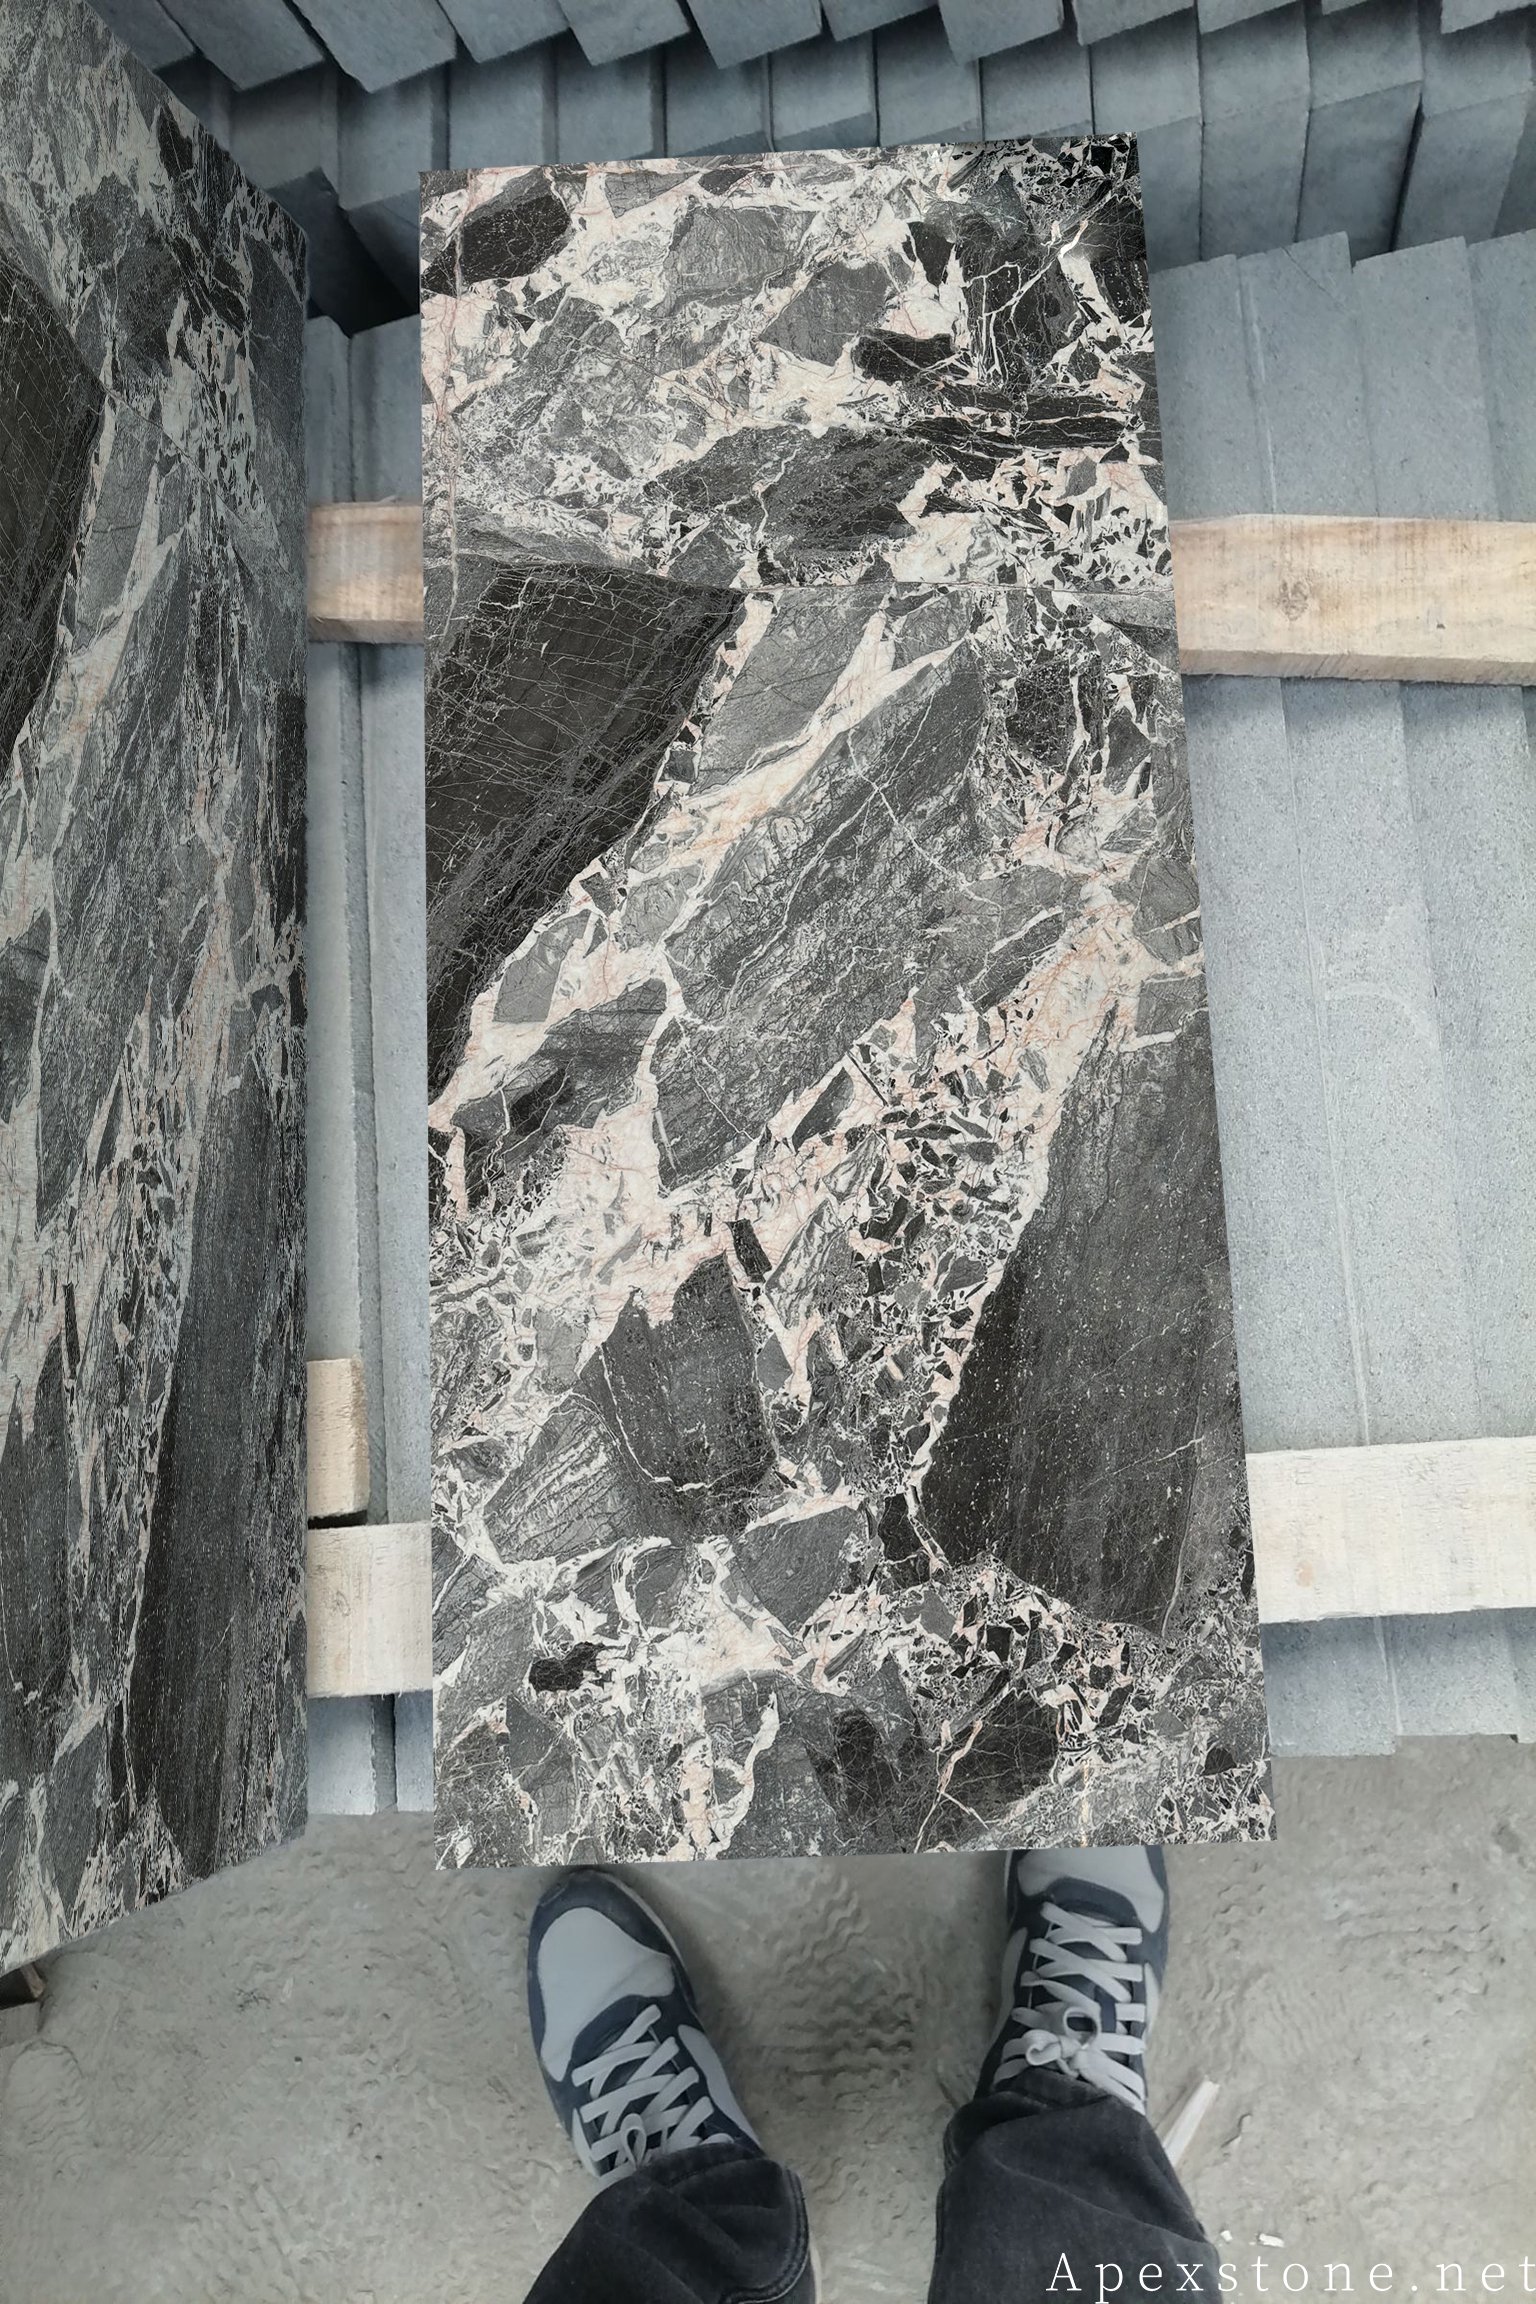
Good pool coping installation is mostly decided before the first piece is bedded. When we watch a run go down cleanly — joints even, overhang consistent, the line level around the whole pool — we can usually trace it back to an order that arrived with the right profile, calibrated thickness, and pieces packed in the order they would be laid. When it goes badly, the stone is often doing something the installer only discovers on site: a profile that doesn't match the bond beam detail, a piece that arrived mid-run, or thickness that wanders and forces shimming.
This guide walks through the sequence as we see it from the supply side of stone coping for pools: what the stone should deliver, what happens on site in order, and which questions to ask before either the order or the install begins.
Key takeaways
- Profile drawings and CAD pre-visualisation should be confirmed before cutting, not after delivery.
- Calibrated thickness across the run is what lets the coping line set level without shimming.
- Numbered, installation-order packing turns dry-laying into a fast check, not a search.
- Sealing is a three-stage task: factory pre-seal, a second application on site after setting, then renewal every 3–5 years on a maintenance cycle.
Before the stone arrives: the order should do half the work
By the time a contractor is ready to set coping, the useful decisions have already been made. From our production receipts, here is what a well-prepared coping order includes.
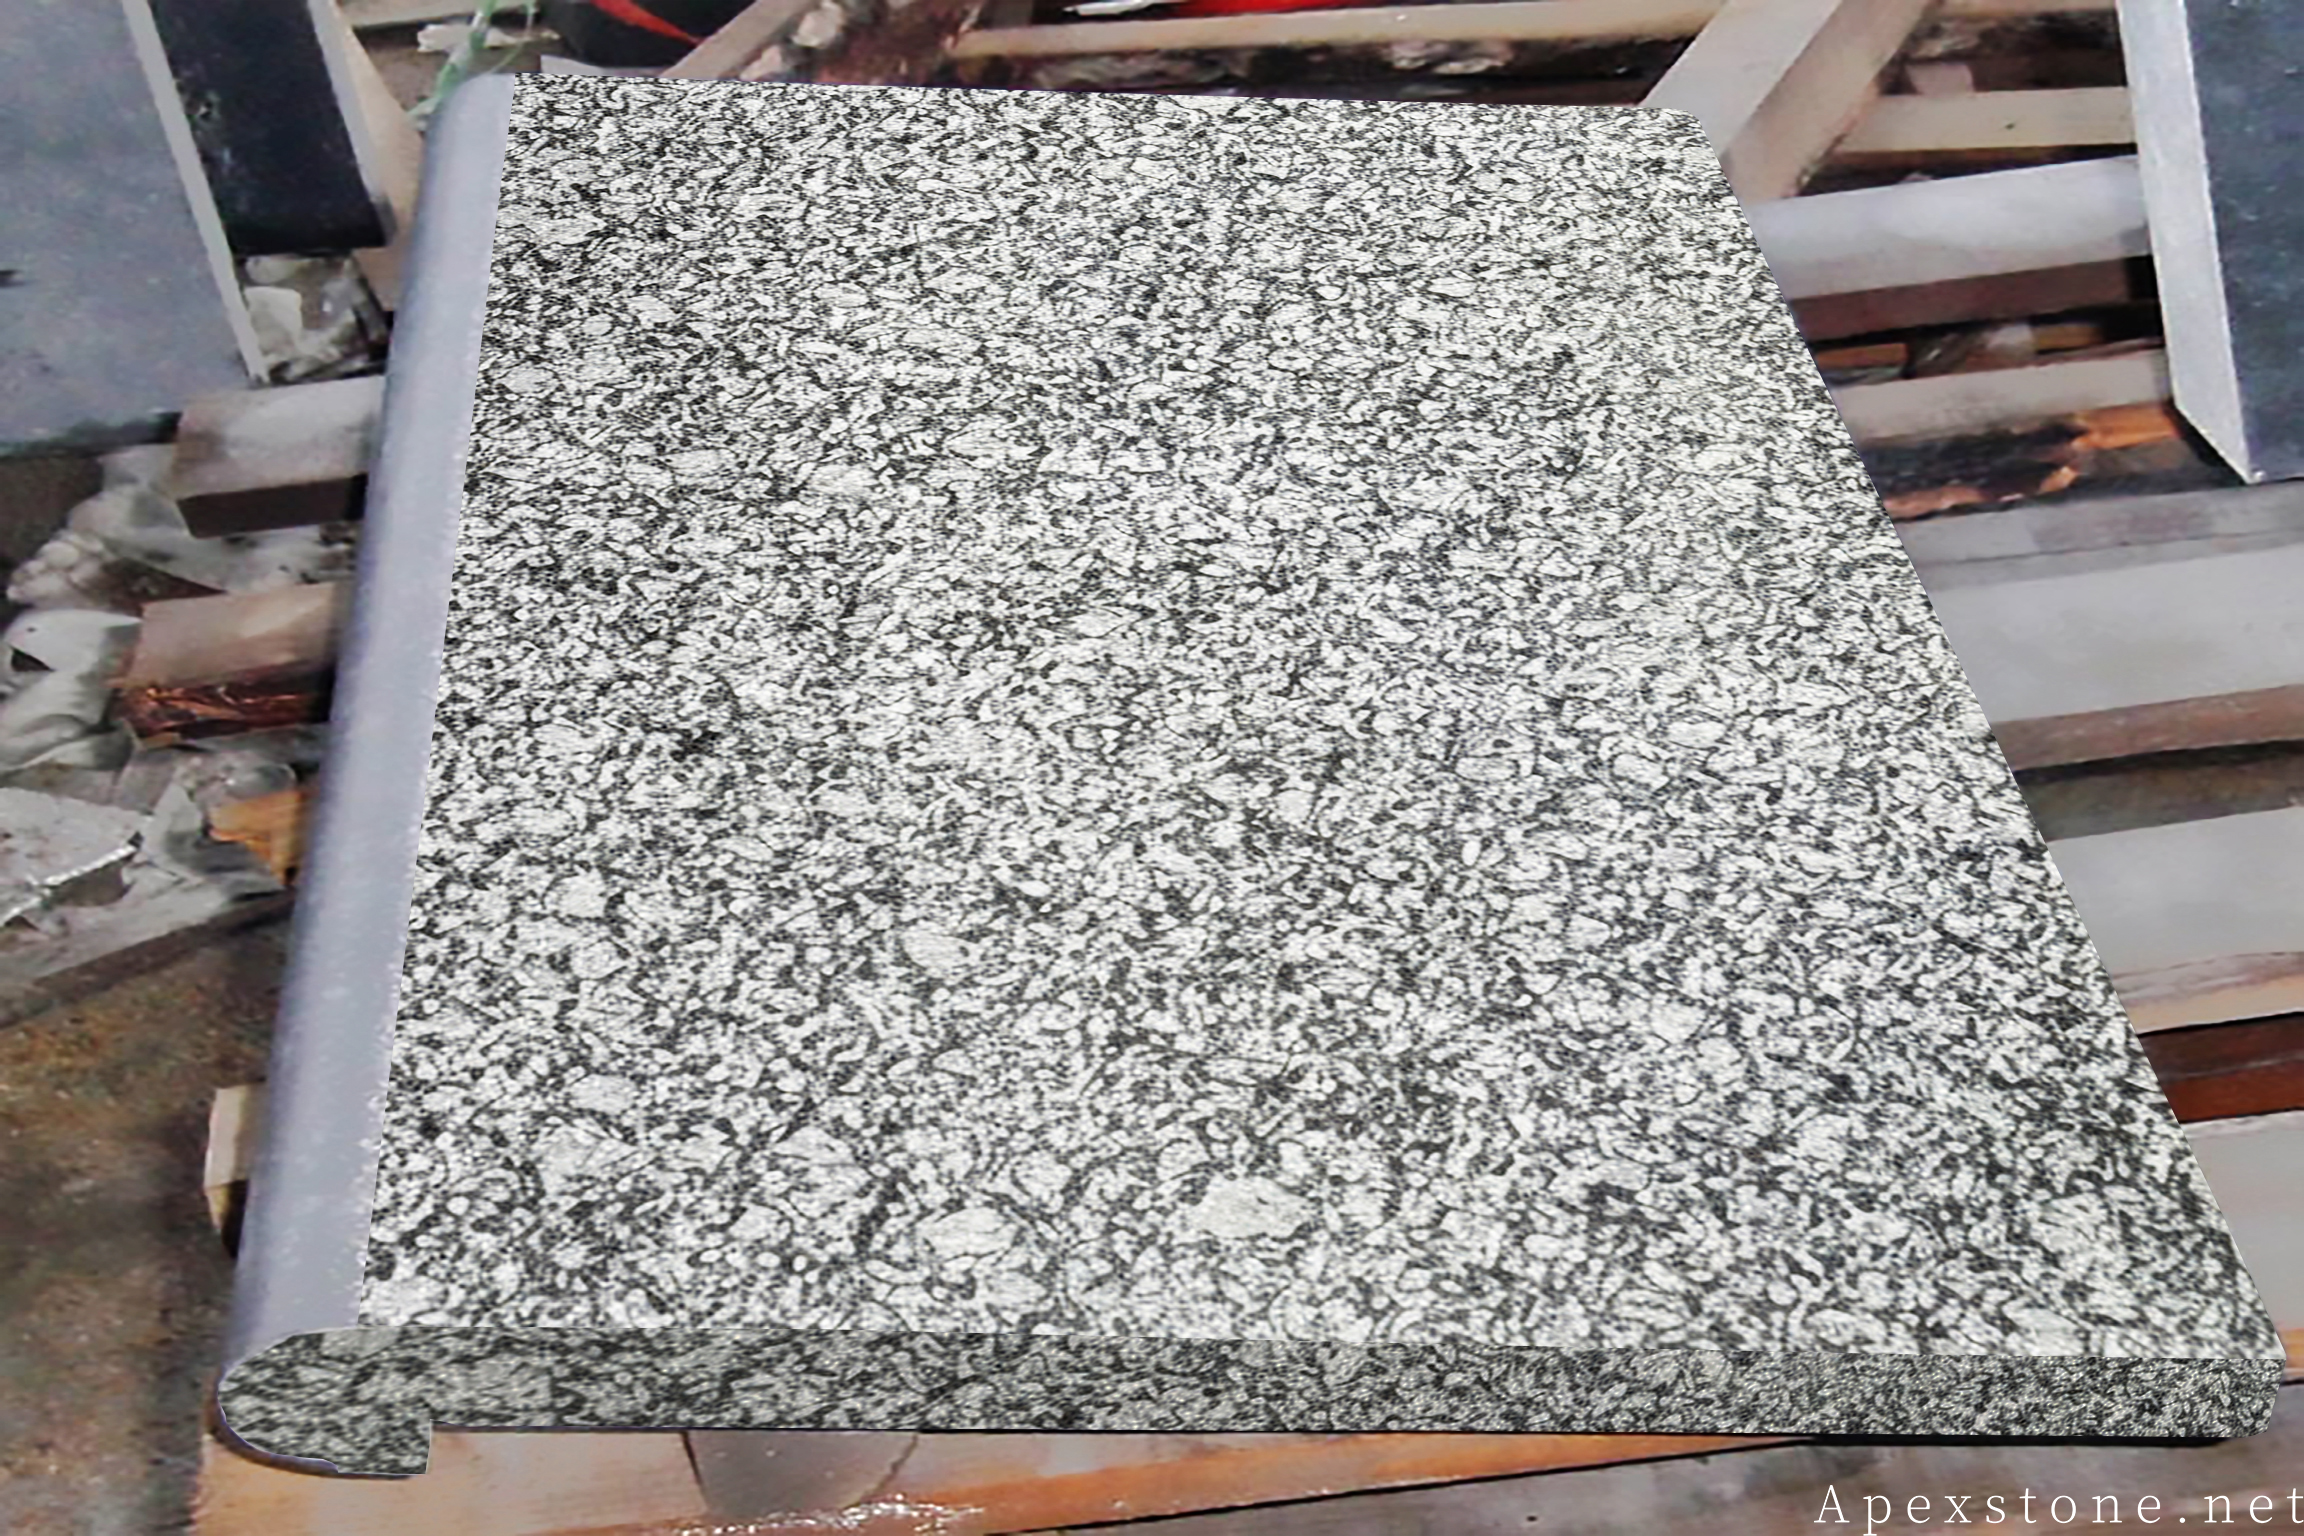
1. A profile drawing, agreed before cutting
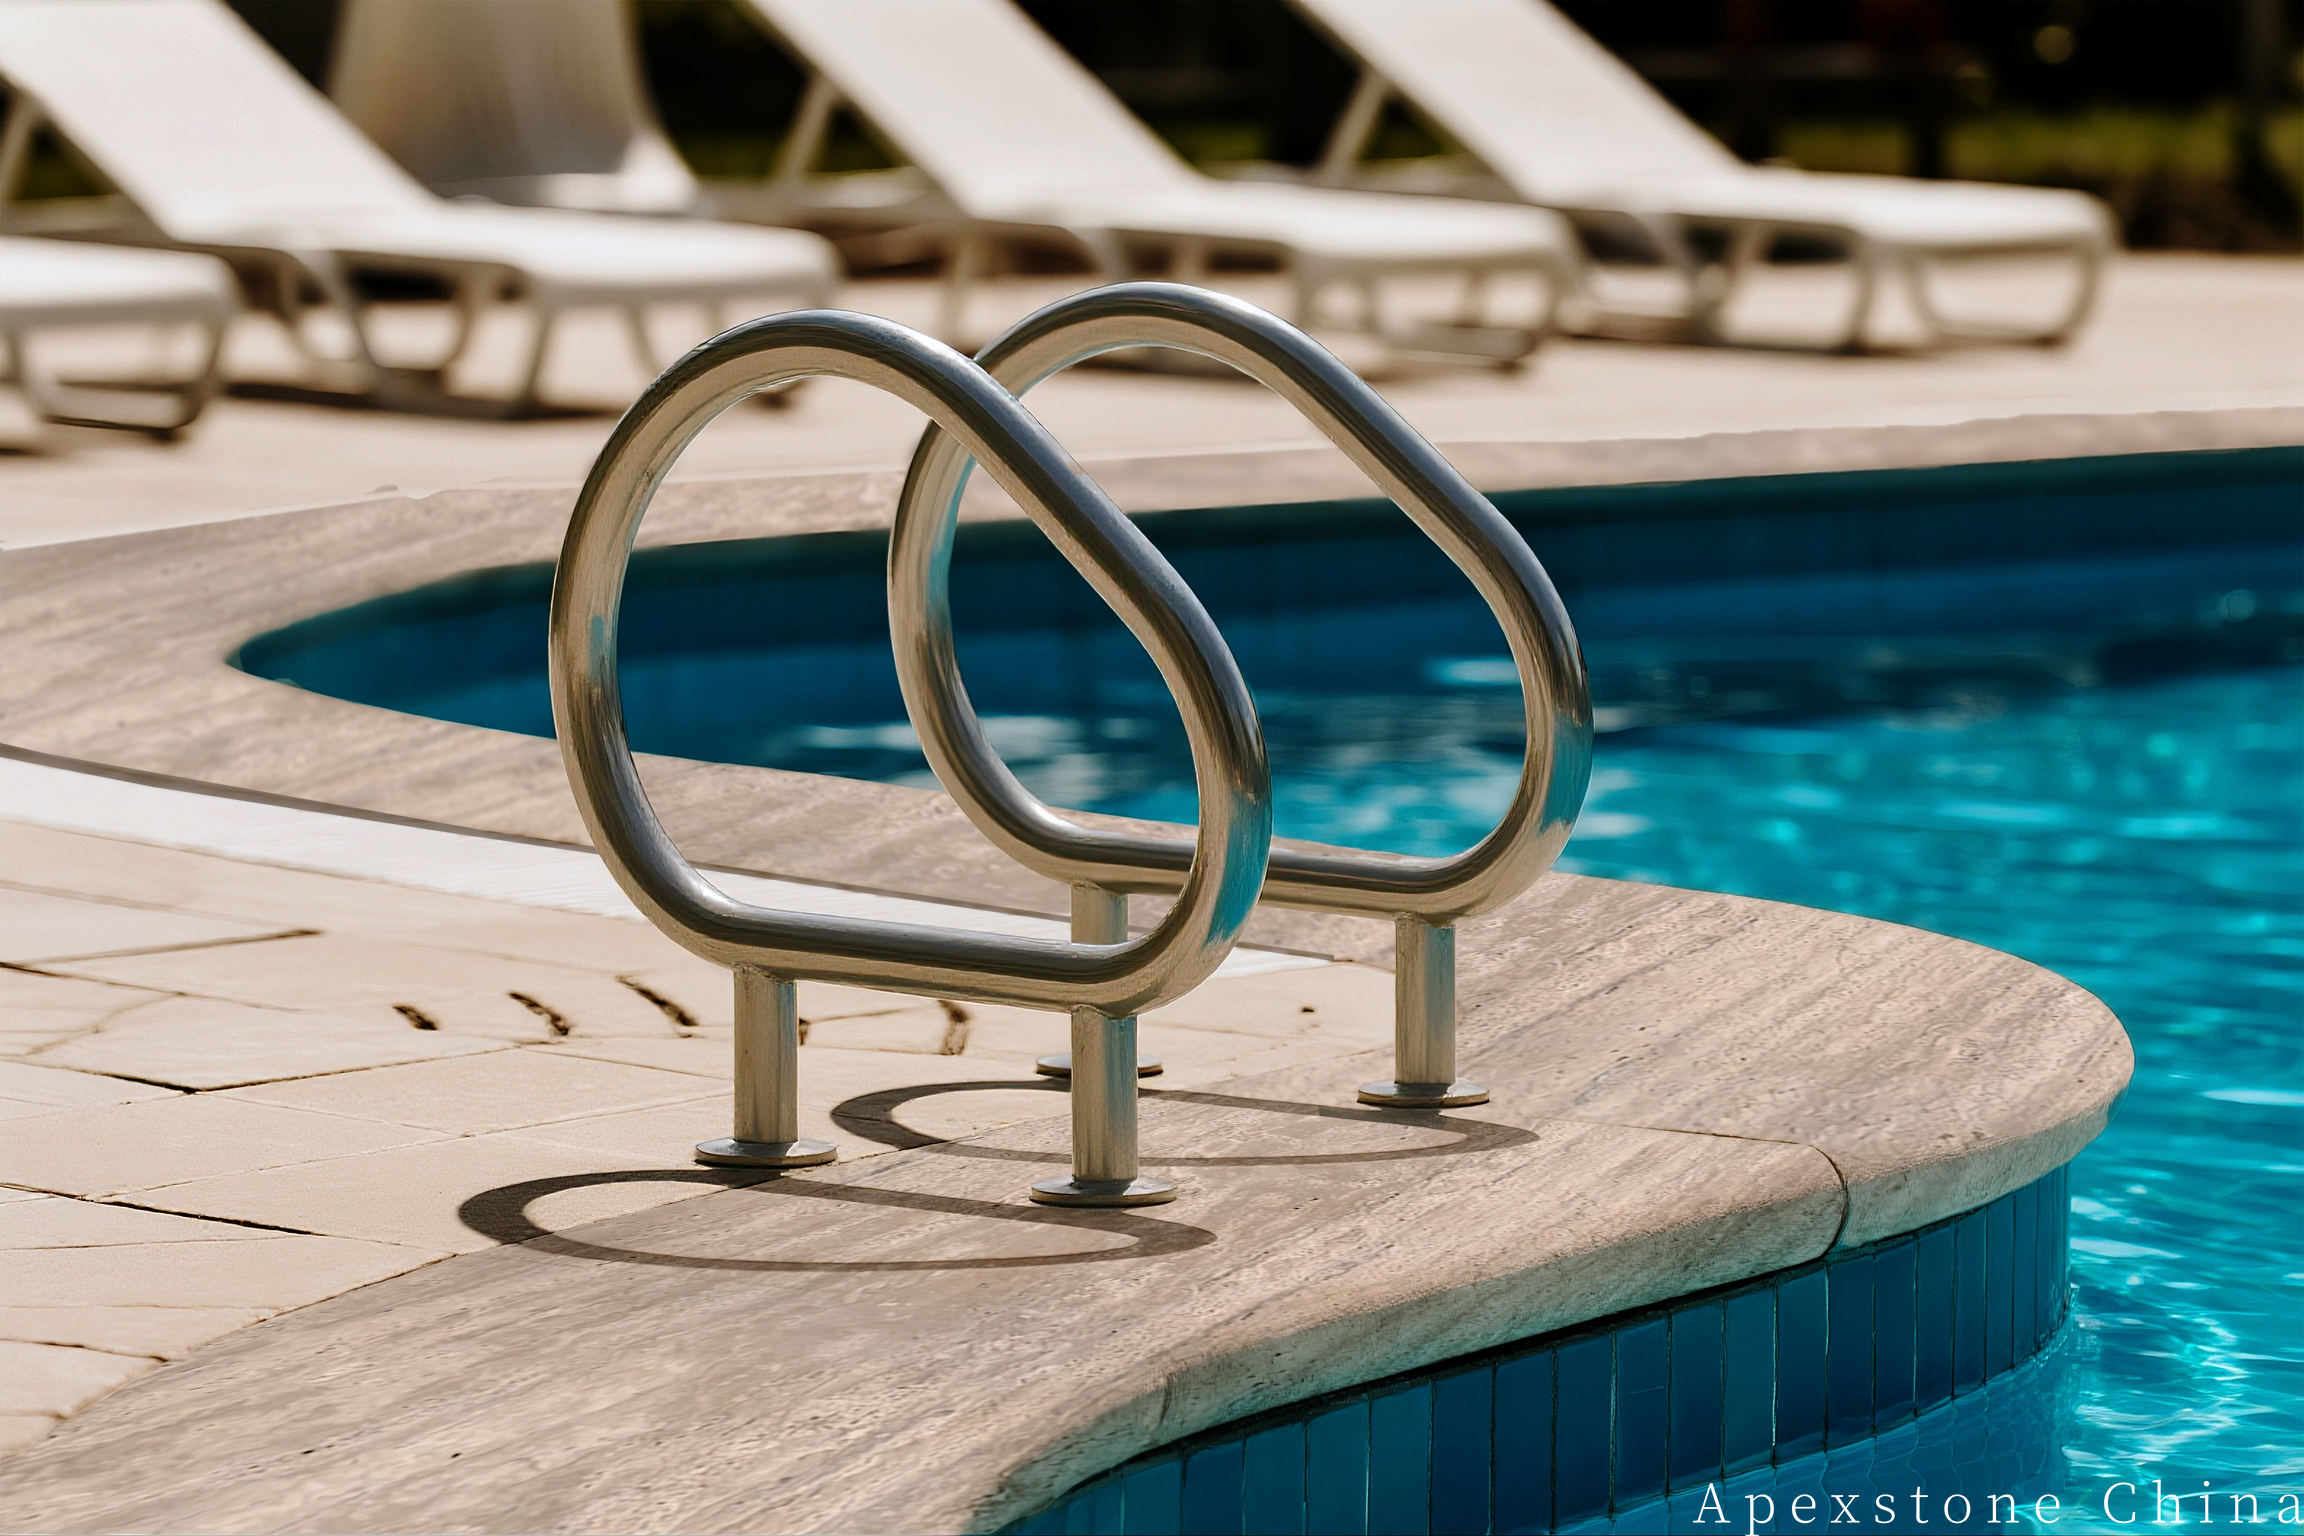
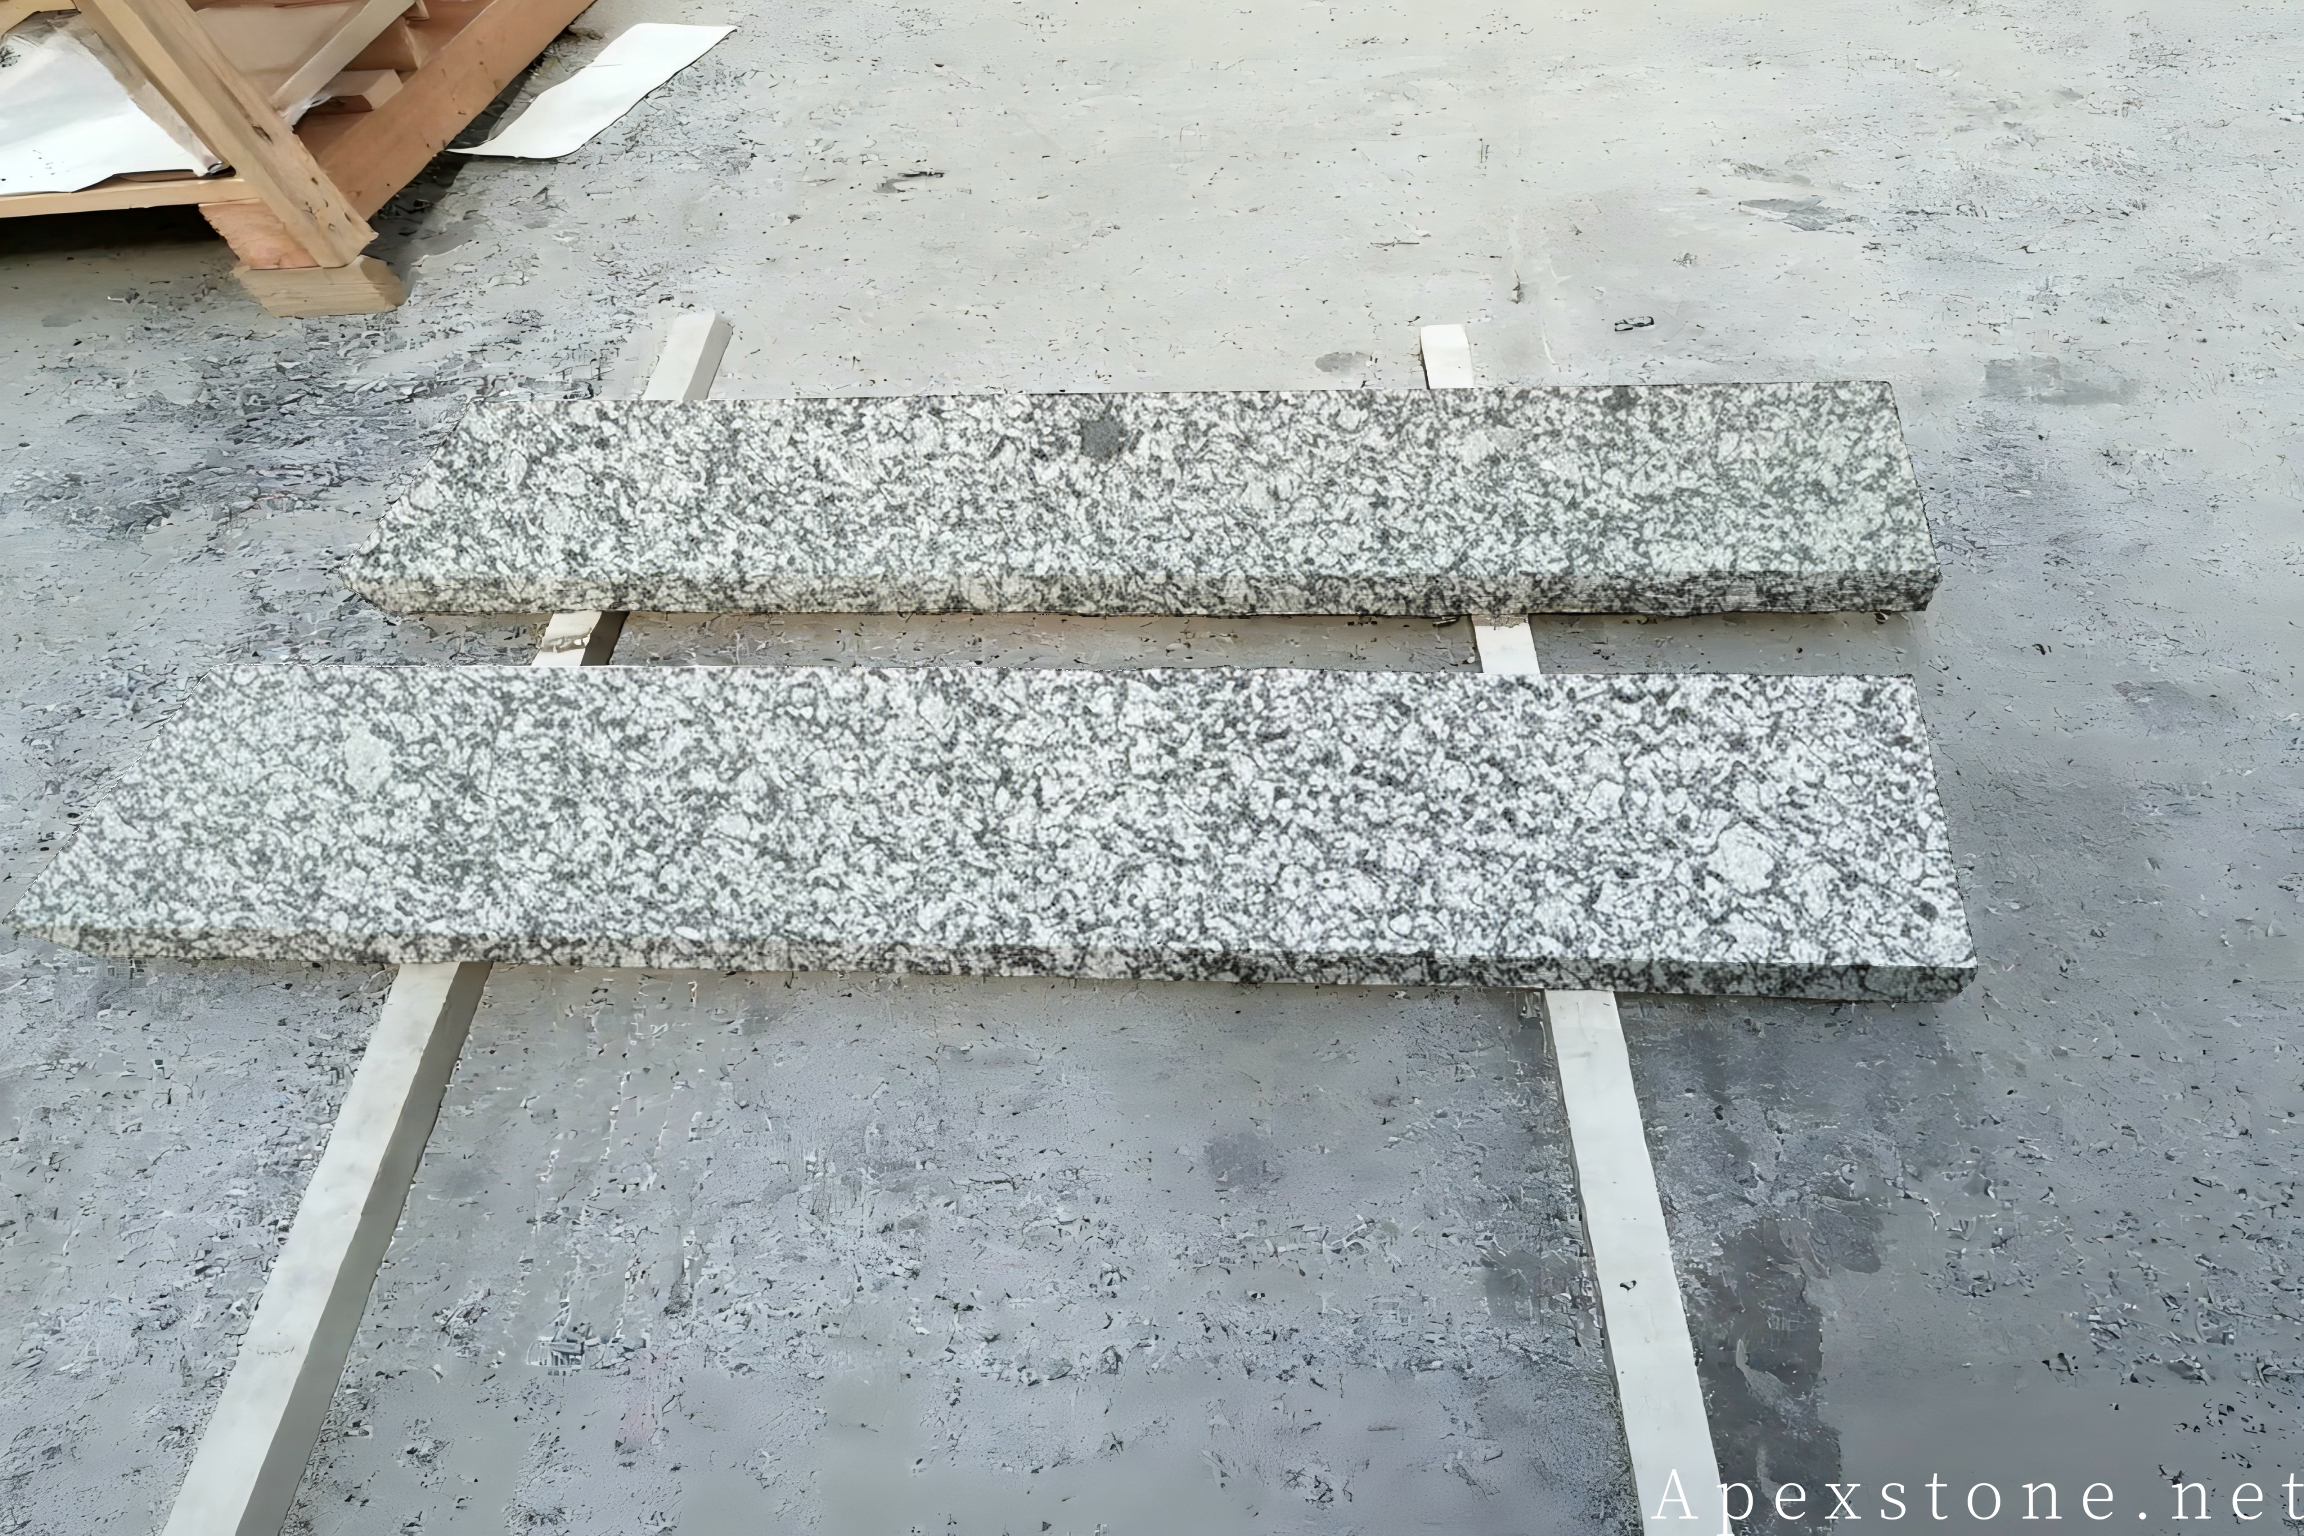
The profile is not a marketing detail. It controls how the coping sits on the bond beam, how the edge reads at the waterline, and whether the piece will work with a raised bond beam, a ladder, or a handrail fixing. Standard options include bullnose, double bullnose, eased, and half-bullnose and flat eased; rebated profiles are used where the detail calls for a raised bond beam. Coping can be supplied up to 2 inch thick where it spans a bond beam or takes ladder and handrail fixings.
Before any cutting, CAD pre-visualisation confirms the profile, width, and pattern direction. That step exists to catch mismatches while they are still lines on a screen — a coping piece that faces the wrong way, or a width that doesn't match the deck field, is cheaper to fix there than on site.
2. CNC-profiled edges and thickness calibration
Edges are CNC-profiled and checked against the profile specification before finishing. Thickness is calibrated across the run so the coping line sets level — piece to piece, not just average. A run where one piece is noticeably thicker than its neighbour forces the installer to compensate with mortar or shims, and that shows up at the joints and the overhang.
3. Sealed, inspected, and packed in installation order
Pieces are sealed with penetrating stone sealer and inspected for dimensional tolerance, edge quality, and finish before packing. Then they are packed in installation order around the pool. For the installer, that means the first piece to go down is the first piece out of the crate; for the buyer, it means fewer pieces handled twice and a clear check when dry-laying.
The sealing regime we work to has three stages, and it is worth writing all three into the specification: a factory pre-seal before packing, a second application on site once the coping is bedded and the joints are cured, and then renewal every 3–5 years as part of the maintenance cycle — with the interval confirmed against the sealer actually used and the exposure the pool sees.
For travertine coping, the common specification is 30 mm (1-1/4 inch), unfilled brushed or tumbled for grip. Sealing with a water-repellent penetrating sealer before and after installation is standard practice; in freeze-thaw climates, a premium-grade sealer is the sensible choice. More on the trade-offs between coping pieces vs field tiles is covered separately.
The installation sequence, step by step
The order below is what we see on well-run sites. Site conditions and local practice vary, so treat the figures as the working range we see used rather than a substitute for the project specification.
Step 1: Verify the substrate
Before any stone is opened, the bond beam or edge substrate is checked for level and dimensional correctness. If the beam is out, no amount of careful setting will produce a level coping line; that conversation belongs before setting starts, not after.
Step 2: Dry-lay the run in delivered sequence
The pieces are laid dry, in the order they were packed, around the pool. This is where numbered packing earns its keep: joints can be checked, pattern direction confirmed, and any piece that doesn't belong identified before mortar is mixed. A dry-lay also shows the installer where adjustments are needed and where the overhang will land.
Step 3: Set on a full mortar bed with consistent joints
Coping is set on a full mortar bed, with joint width kept consistent around the run — in practice 3–5 mm (1/8–3/16 in) is the working range on a coping line, tight enough to read as one continuous edge and wide enough to take up the small variations in a profiled piece. The stone supplier's job is to deliver pieces that make this possible; the installer's job is to keep the bed full and the joints even.
Step 4: Check overhang and drip behaviour at the waterline
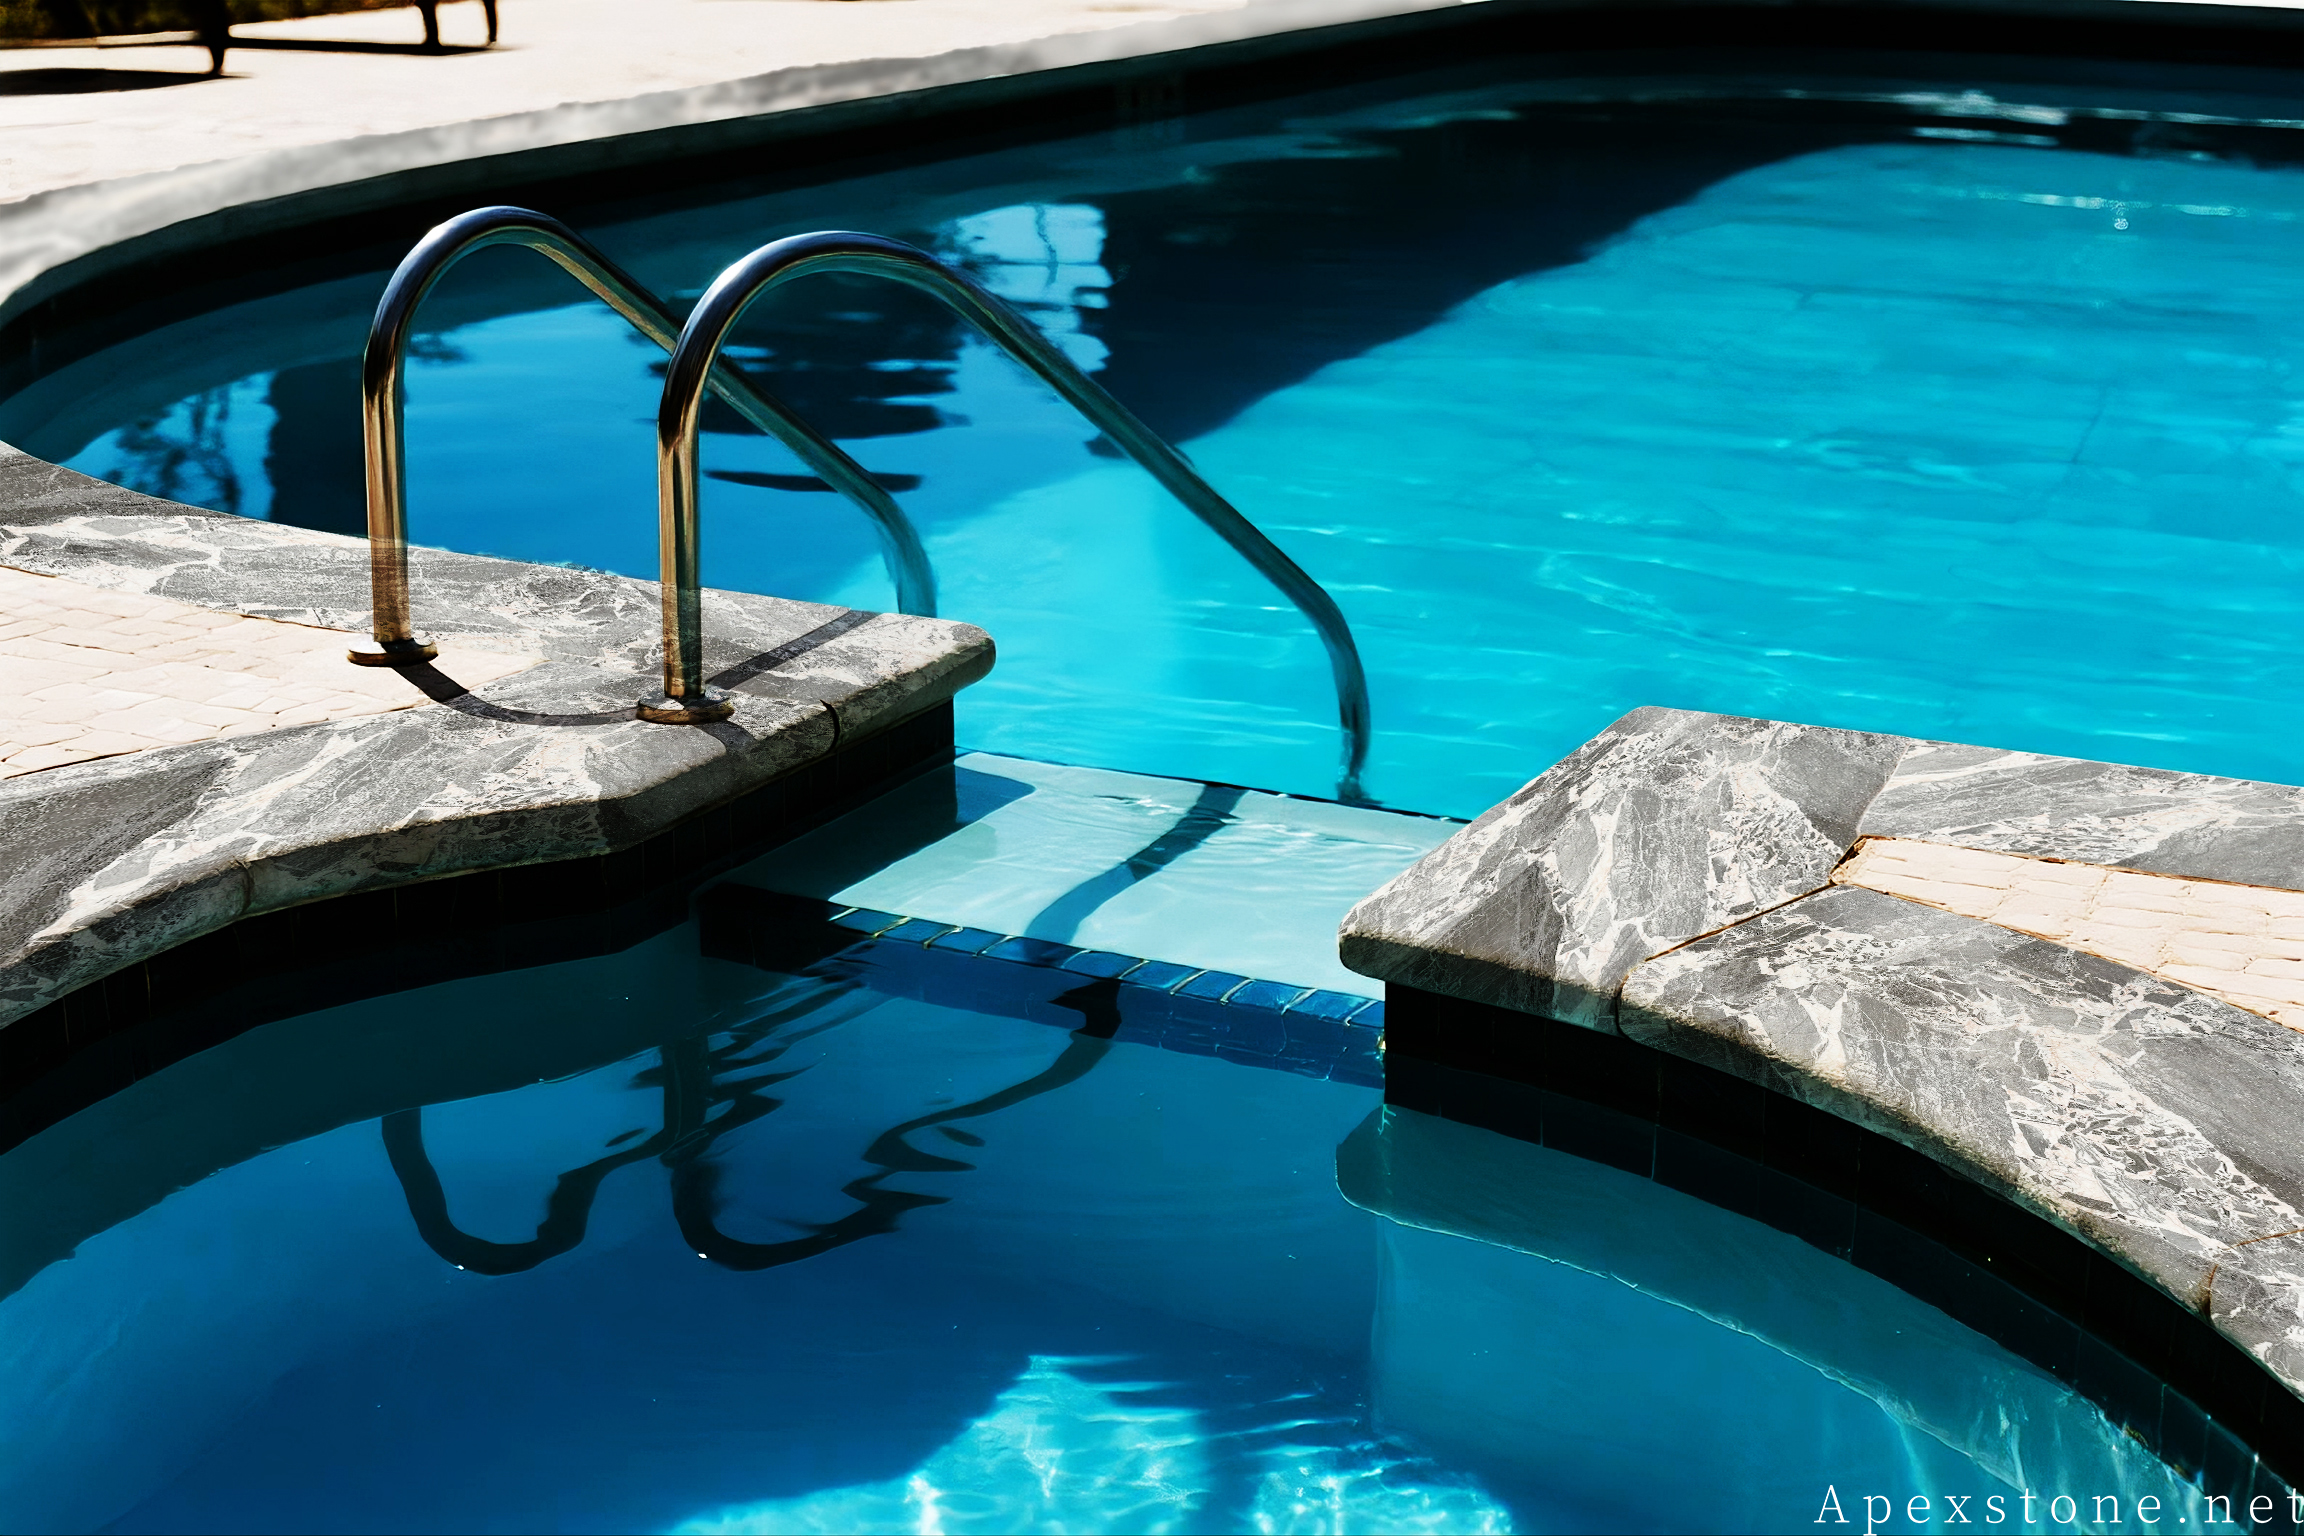
The overhang at the waterline is checked as the run progresses — not just at the end. A projecting edge of roughly 20–30 mm (3/4–1-1/4 in) is the working target we see on a bullnose or eased coping, because the nose has to sit far enough forward for water to drip clear of the pool wall and back into the pool rather than tracking down the face. This is where the profile choice matters: a bullnose or eased edge that overhangs correctly sheds water and reads cleanly; one that sits too far back or too far forward shows at every joint.
Step 5: Keep finish orientation consistent
For brushed or tumbled finishes, orientation matters. Pieces should be laid with the finish direction consistent, so the run doesn't read as a patchwork under raking light.
Step 6: Seal and cure per the sealer manufacturer's instructions
After setting, the coping is sealed again, following the sealer manufacturer's instructions for application and cure. In practice that means a cure window before the edge is exposed to water or foot traffic — commonly 24–48 hours, and the actual figure is the one printed on the sealer you are using, not a generic rule. The stone arrives pre-sealed from our side, but the second application after installation is part of the sequence, not an optional extra.
Profiles and edge details that change the install
The profile choice affects both how the coping looks and how it sets. A few common options and where they fit:
| Profile | Typical use | What it changes on site |
|---|---|---|
| Bullnose / double bullnose | Standard pool edge, safe rounded nose | Overhang and drip behaviour are read from the rounded edge; joints must stay even |
| Eased / flat eased | Cleaner, squarer edge detail | Less forgiving of substrate variation; finish orientation more visible |
| Rebated | Raised bond beam details | The rebate must match the beam detail; drawing confirmation is essential |
| Half-bullnose | Where a partial round is specified | Orientation matters; dry-lay check catches reversed pieces |
For projects that need a specific edge, rebated and bullnose profiles fabricated to drawing is how we approach it — the drawing drives the CNC, and the CNC output is checked before finishing.
Cantilever-style edges (where the coping projects over the pool wall) are a detail the installer builds, not a stone profile as such; the stone needs to be thick enough and consistent enough to carry the overhang cleanly. That is one reason coping up to 2 inch thick is used where it spans a bond beam.
If your order includes a mix of pieces, copings packed in installation order keeps the dry-lay check quick and the sequence obvious.
Where the material question is still open, the same edge detail carries different risk on a softer stone: limestone coping stones and what to check before ordering sets out block density, absorption and wet grip before you commit the edge to a porous material.
After setting: sealing and first-season care
Sealing is the step most often rushed. The stone is pre-sealed before packing, the post-installation application follows the sealer manufacturer's instructions — including the cure time, which commonly runs 24–48 hours before the edge is put back into service — and then the cycle continues at renewal, typically every 3–5 years depending on the sealer and the exposure. In freeze-thaw climates, a premium-grade penetrating sealer is worth specifying up front rather than deciding after the deck is finished.
First-season care is mostly about observation: check the overhang and joints after the first heavy rain, and confirm the finish still reads consistently. If a piece looks out of line, the cause is usually visible in the dry-lay record — which is why numbered packing and a sequence check are worth the few minutes they take.
Frequently asked questions
What is bullnose pool coping?
Bullnose coping has a rounded front edge — the classic pool-edge profile. Double bullnose rounds both the front and the back edge, which is useful where the coping is exposed on both sides. The rounded nose is comfortable underfoot and, with an overhang in the 20–30 mm (3/4–1-1/4 in) range, sheds water clear of the pool wall.
What is cantilever pool coping?
Cantilever coping projects over the pool wall, so the coping itself forms the edge. The stone needs to be thick enough and consistent enough to carry that overhang; the cantilever detail is built by the installer, while the stone supplier's job is to deliver calibrated thickness and a profile that suits the span.
How does above ground pool coping differ?
Above ground pools typically use lighter coping pieces that sit on the pool wall rather than spanning a bond beam, so the thickness and profile requirements differ from in-ground installations. The sequence — verify the substrate, dry-lay, set, check overhang, seal — still applies, but the pieces are usually thinner and the fixing detail is different.
Does new coping need sealing?
Yes, and it is a three-stage routine rather than a single coat. Our coping is sealed with penetrating stone sealer before packing, a second application follows installation once the joints have cured — allowing the cure time on the sealer, commonly 24–48 hours before the edge is exposed to water — and the stone is then renewed on a maintenance cycle, typically every 3–5 years. In freeze-thaw climates, specify a premium-grade water-repellent penetrating sealer.
Questions worth asking before the order is cut
If you are the buyer, the useful questions are the ones that prevent rework: Is there a confirmed profile drawing? Has CAD pre-visualisation been signed off for width and pattern direction? Is thickness calibrated across the run? Will the pieces be packed in installation order? Which sealer is specified, is the renewal interval written into the maintenance plan, and is it appropriate for the climate?
If you are the installer, the useful check is the dry-lay: does the delivered sequence match the run, and does the profile match the substrate detail? Catching that before mortar is mixed is the difference between a clean line and a week of adjustments.
If the deck, step treads and risers are in the same scope, pool pavers and coping planned as one order explains what changes on site when one production lot governs the whole waterscape instead of three separate deliveries.
For the full sequence in practice, the stone has to arrive ready to set — profile confirmed, thickness calibrated, packed in order. Everything after that is the installer's craft, and it is easier when the stone does its half.