A practical installation guide covering the three decisions that determine a travertine floor or wall: substrate preparation, thickness and format selection by application, and the filled versus unfilled choice, plus grain direction and sealing around grouting.
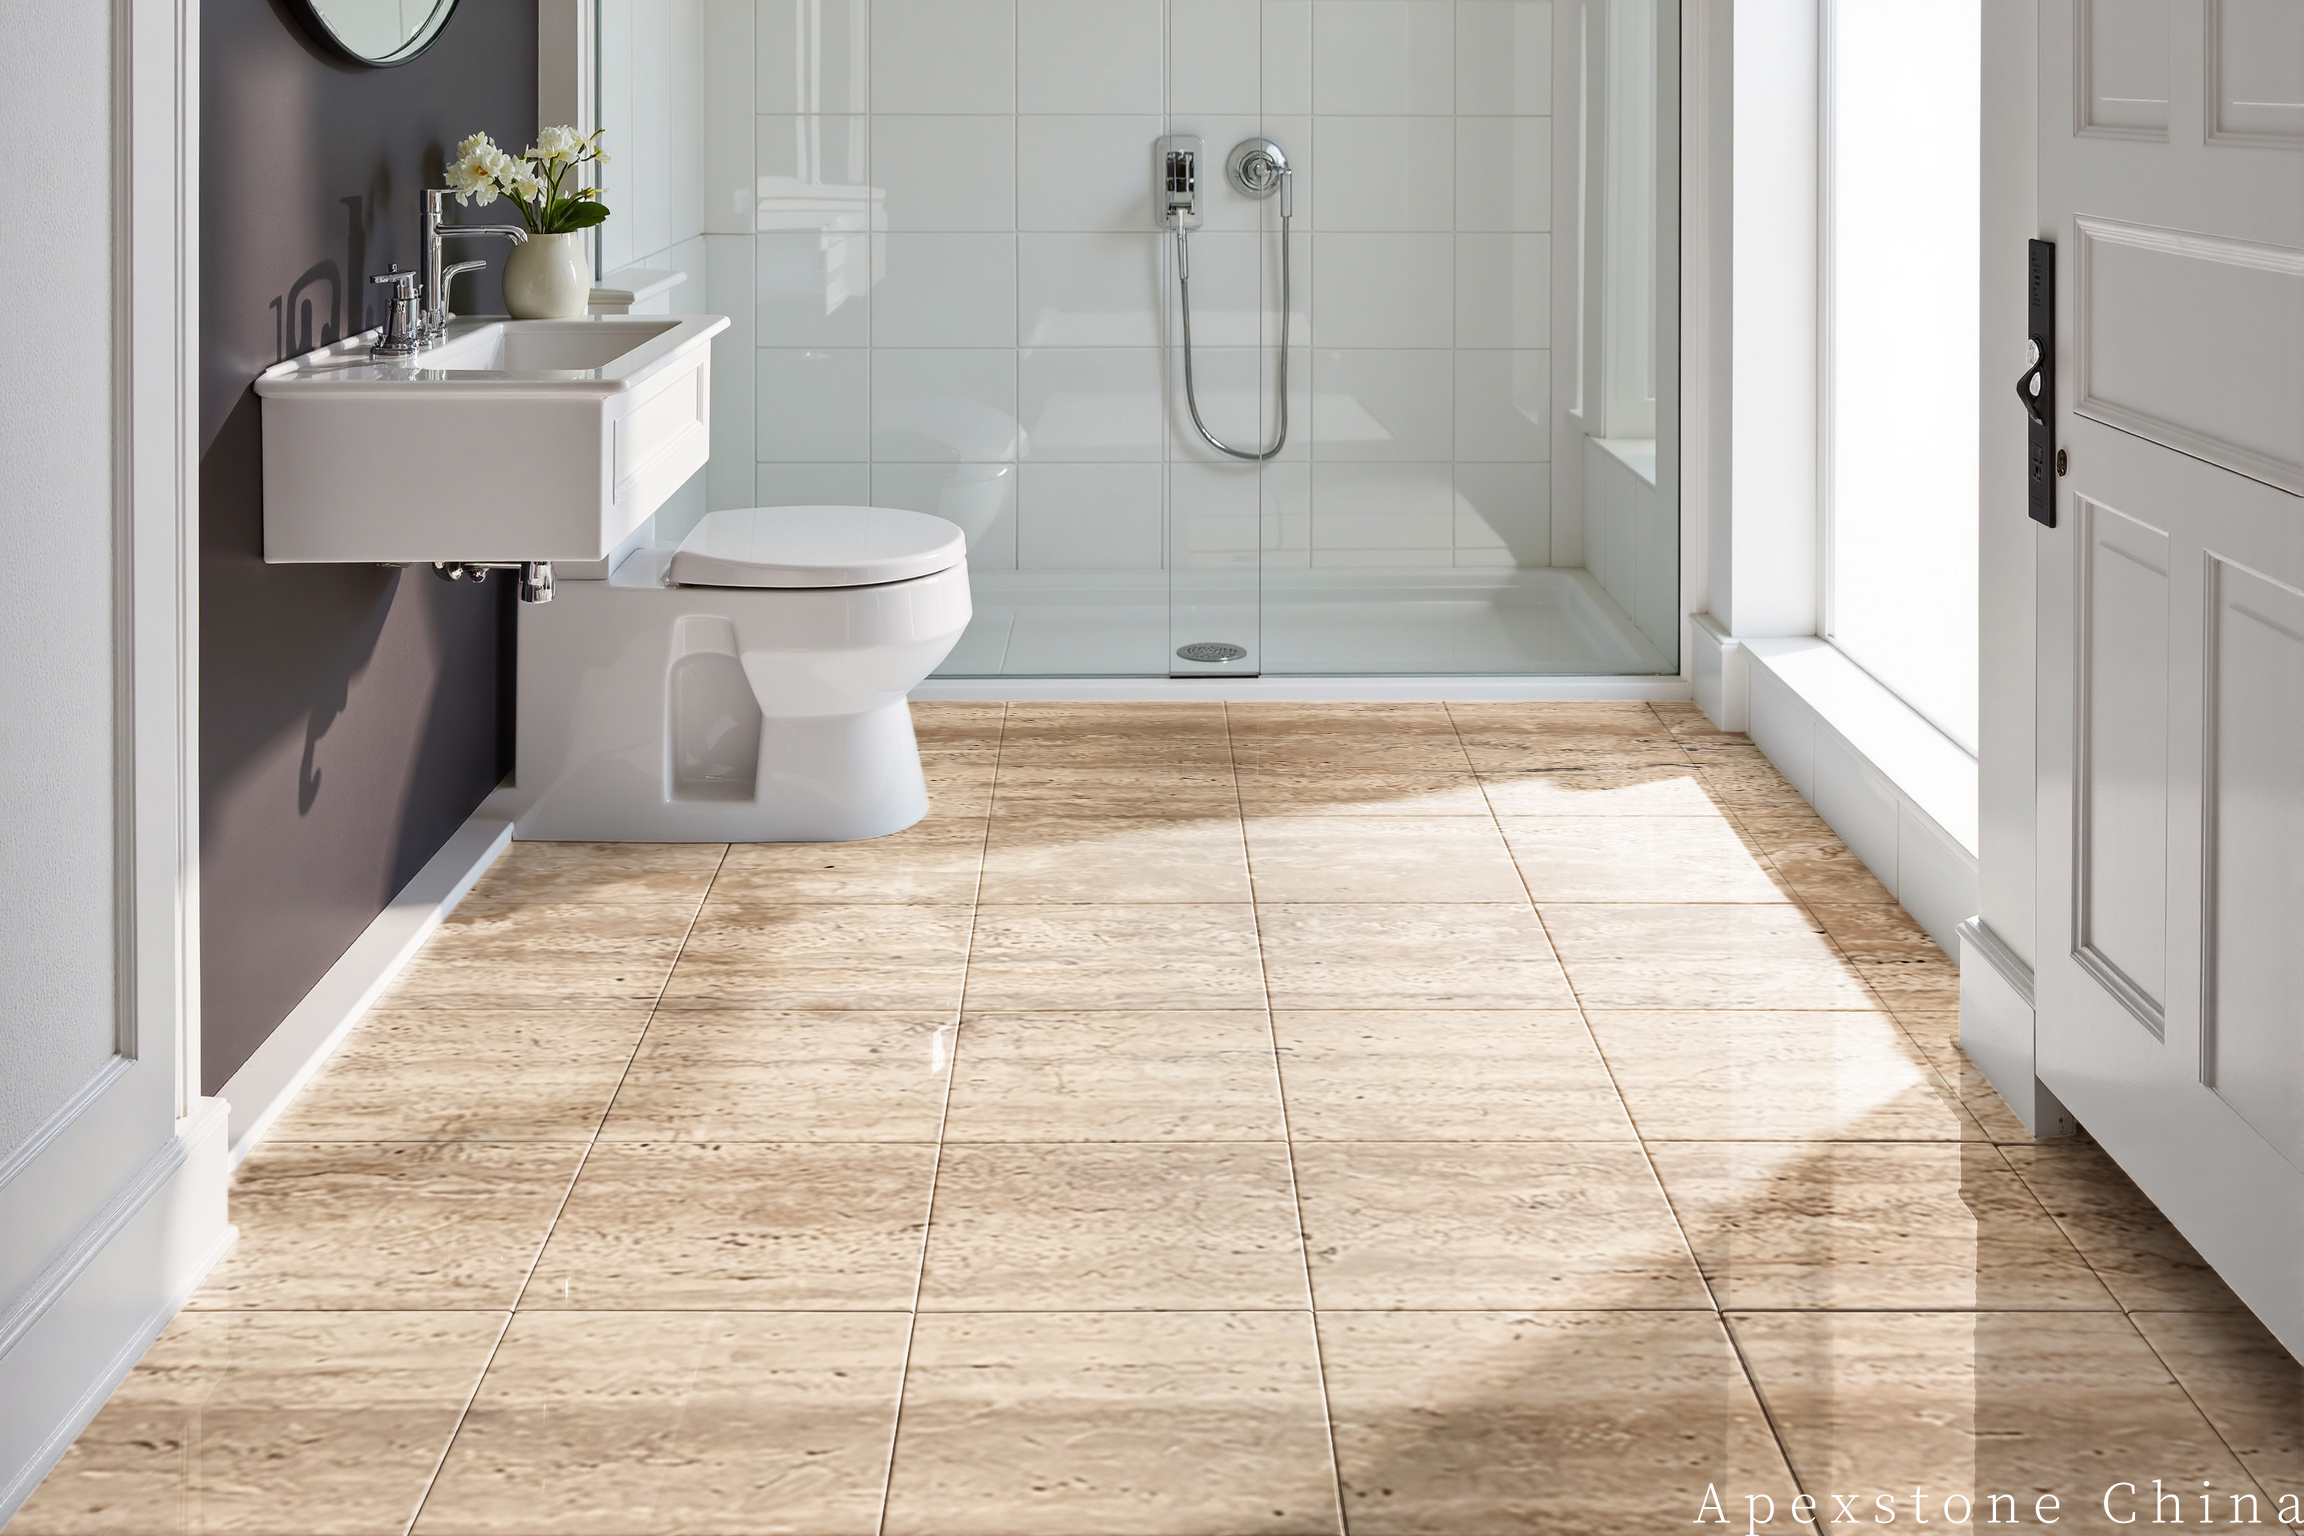
Installation Guide
Travertine is a sedimentary stone: it is defined by its bedding plane, its linear veining, and its natural voids. Those three properties mean that how you set it matters more than how you finish it. Most travertine failures trace back to one of three decisions made before the first tile is laid — the substrate, the thickness and format for the application, and whether the tile is filled or unfilled. Two further details, grain direction and the timing of sealing around grouting, decide whether the finished floor looks intentional or accidental. This guide covers all five, in the order a project normally meets them.
- Travertine tiles are typically calibrated to ±0.5 mm; 600×600 mm and 800×800 mm are common formats.
- Thickness follows the application: 10 mm for walls, 18 mm for floors, 20 mm for heavy-duty areas.
- Filled honed and filled polished surfaces suit smooth interior work; unfilled brushed and unfilled tumbled suit textured or exterior use.
- Linear grain runs with the stone’s bedding plane — align it deliberately.
- Water absorption is typically 1–3% on unfilled stone, so seal before and after grouting with a penetrating sealer.
Why these three decisions matter more than the finish
Travertine is often chosen for its appearance, but appearance is the last thing to be fixed on site. A flat, stable substrate, a thickness appropriate to the load, and a surface finish that matches the environment determine whether the installation performs. Getting those right means the stone can be maintained with normal cleaning. Getting them wrong can lead to lippage, loose tiles, or staining that no amount of polishing will reverse. The sections below explain how to set travertine tile with those decisions in mind.
1. Substrate preparation: the decision you cannot fix later
The substrate must be flat, sound, clean, and dry before any tile is set. Travertine is rigid, and a tile that bridges a hollow or a high spot will eventually crack or debond under foot traffic. For floors, check flatness with a straightedge over the full area and correct any deviation before proceeding. As a working target, a 2 m straightedge laid anywhere on the floor should not show a gap of more than about 3 mm beneath it, and the deviation should not repeat in the same direction across adjacent positions. Where the project specification or the tile installation standard sets a tighter tolerance, that governs.
Water is the other substrate issue. Travertine has a quoted water absorption of 1–3% on unfilled stone, which is low enough that the stone itself is not usually the problem, but moisture rising through a slab can drive efflorescence and bond failure. Ask the designer to state the acceptable moisture level for the slab and the membrane type for the project, take the reading with a meter suited to that slab, and record it before tiling starts. Do not assume that a sealed tile compensates for a wet substrate; sealing slows surface absorption, it does not waterproof the assembly.
For exterior or wet-area installations, slope and drainage are part of substrate preparation, not a finishing detail. Water must move away from the building and off the tile surface. If the substrate cannot be prepared to that standard, the stone choice should be reconsidered rather than forced.
2. Thickness and format by application
Travertine tiles are produced in calibrated thicknesses, commonly within ±0.5 mm, which helps keep lippage manageable on large-format work. The table below gives the normal thickness ranges by application. These are starting points; the project specification governs.
| Application | Typical thickness | Notes |
|---|---|---|
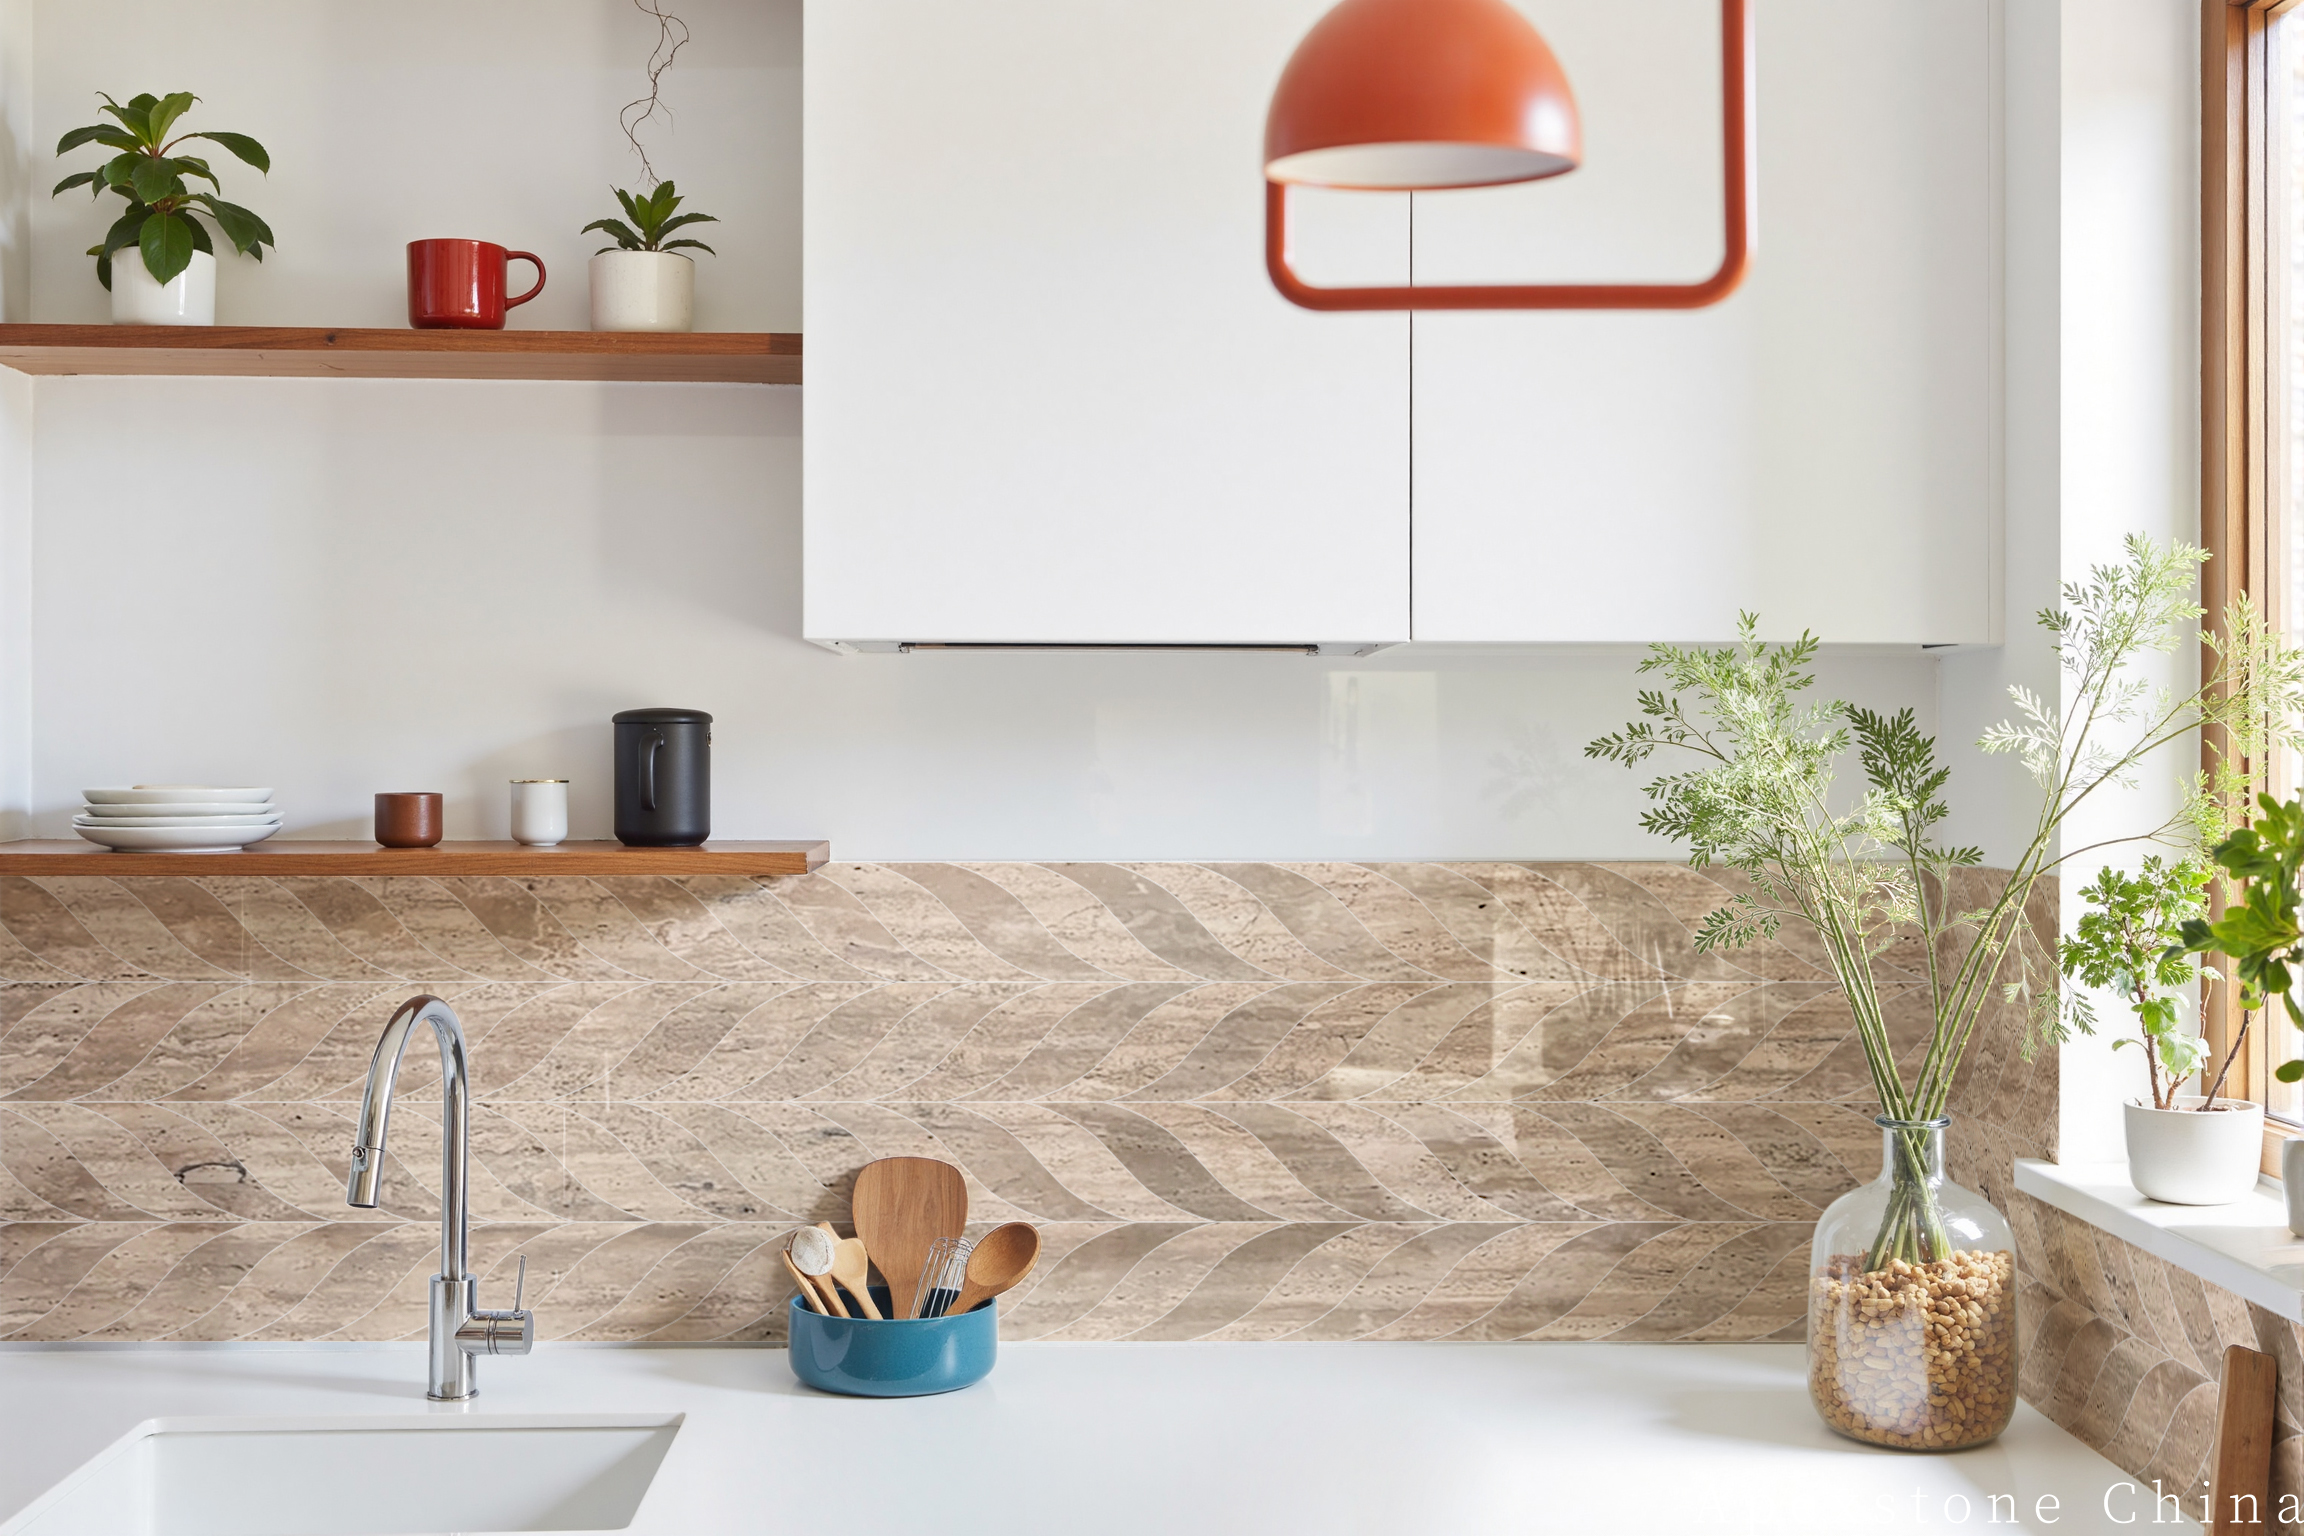
| Interior walls, backsplashes | 10 mm | Lightweight, reduces load on wall backing. Homes, hotel bathrooms, kitchen splashbacks. |
| Residential and light-commercial floors | 18 mm | Standard floor thickness for foot traffic. Homes, hotel guest rooms, boutiques, small offices. |
| Heavy-duty areas (high traffic, load-bearing) | 20 mm | Greater resistance to point loads and impact. Shopping centre concourses, hotel lobbies, driveways, areas with vehicle or trolley traffic. |
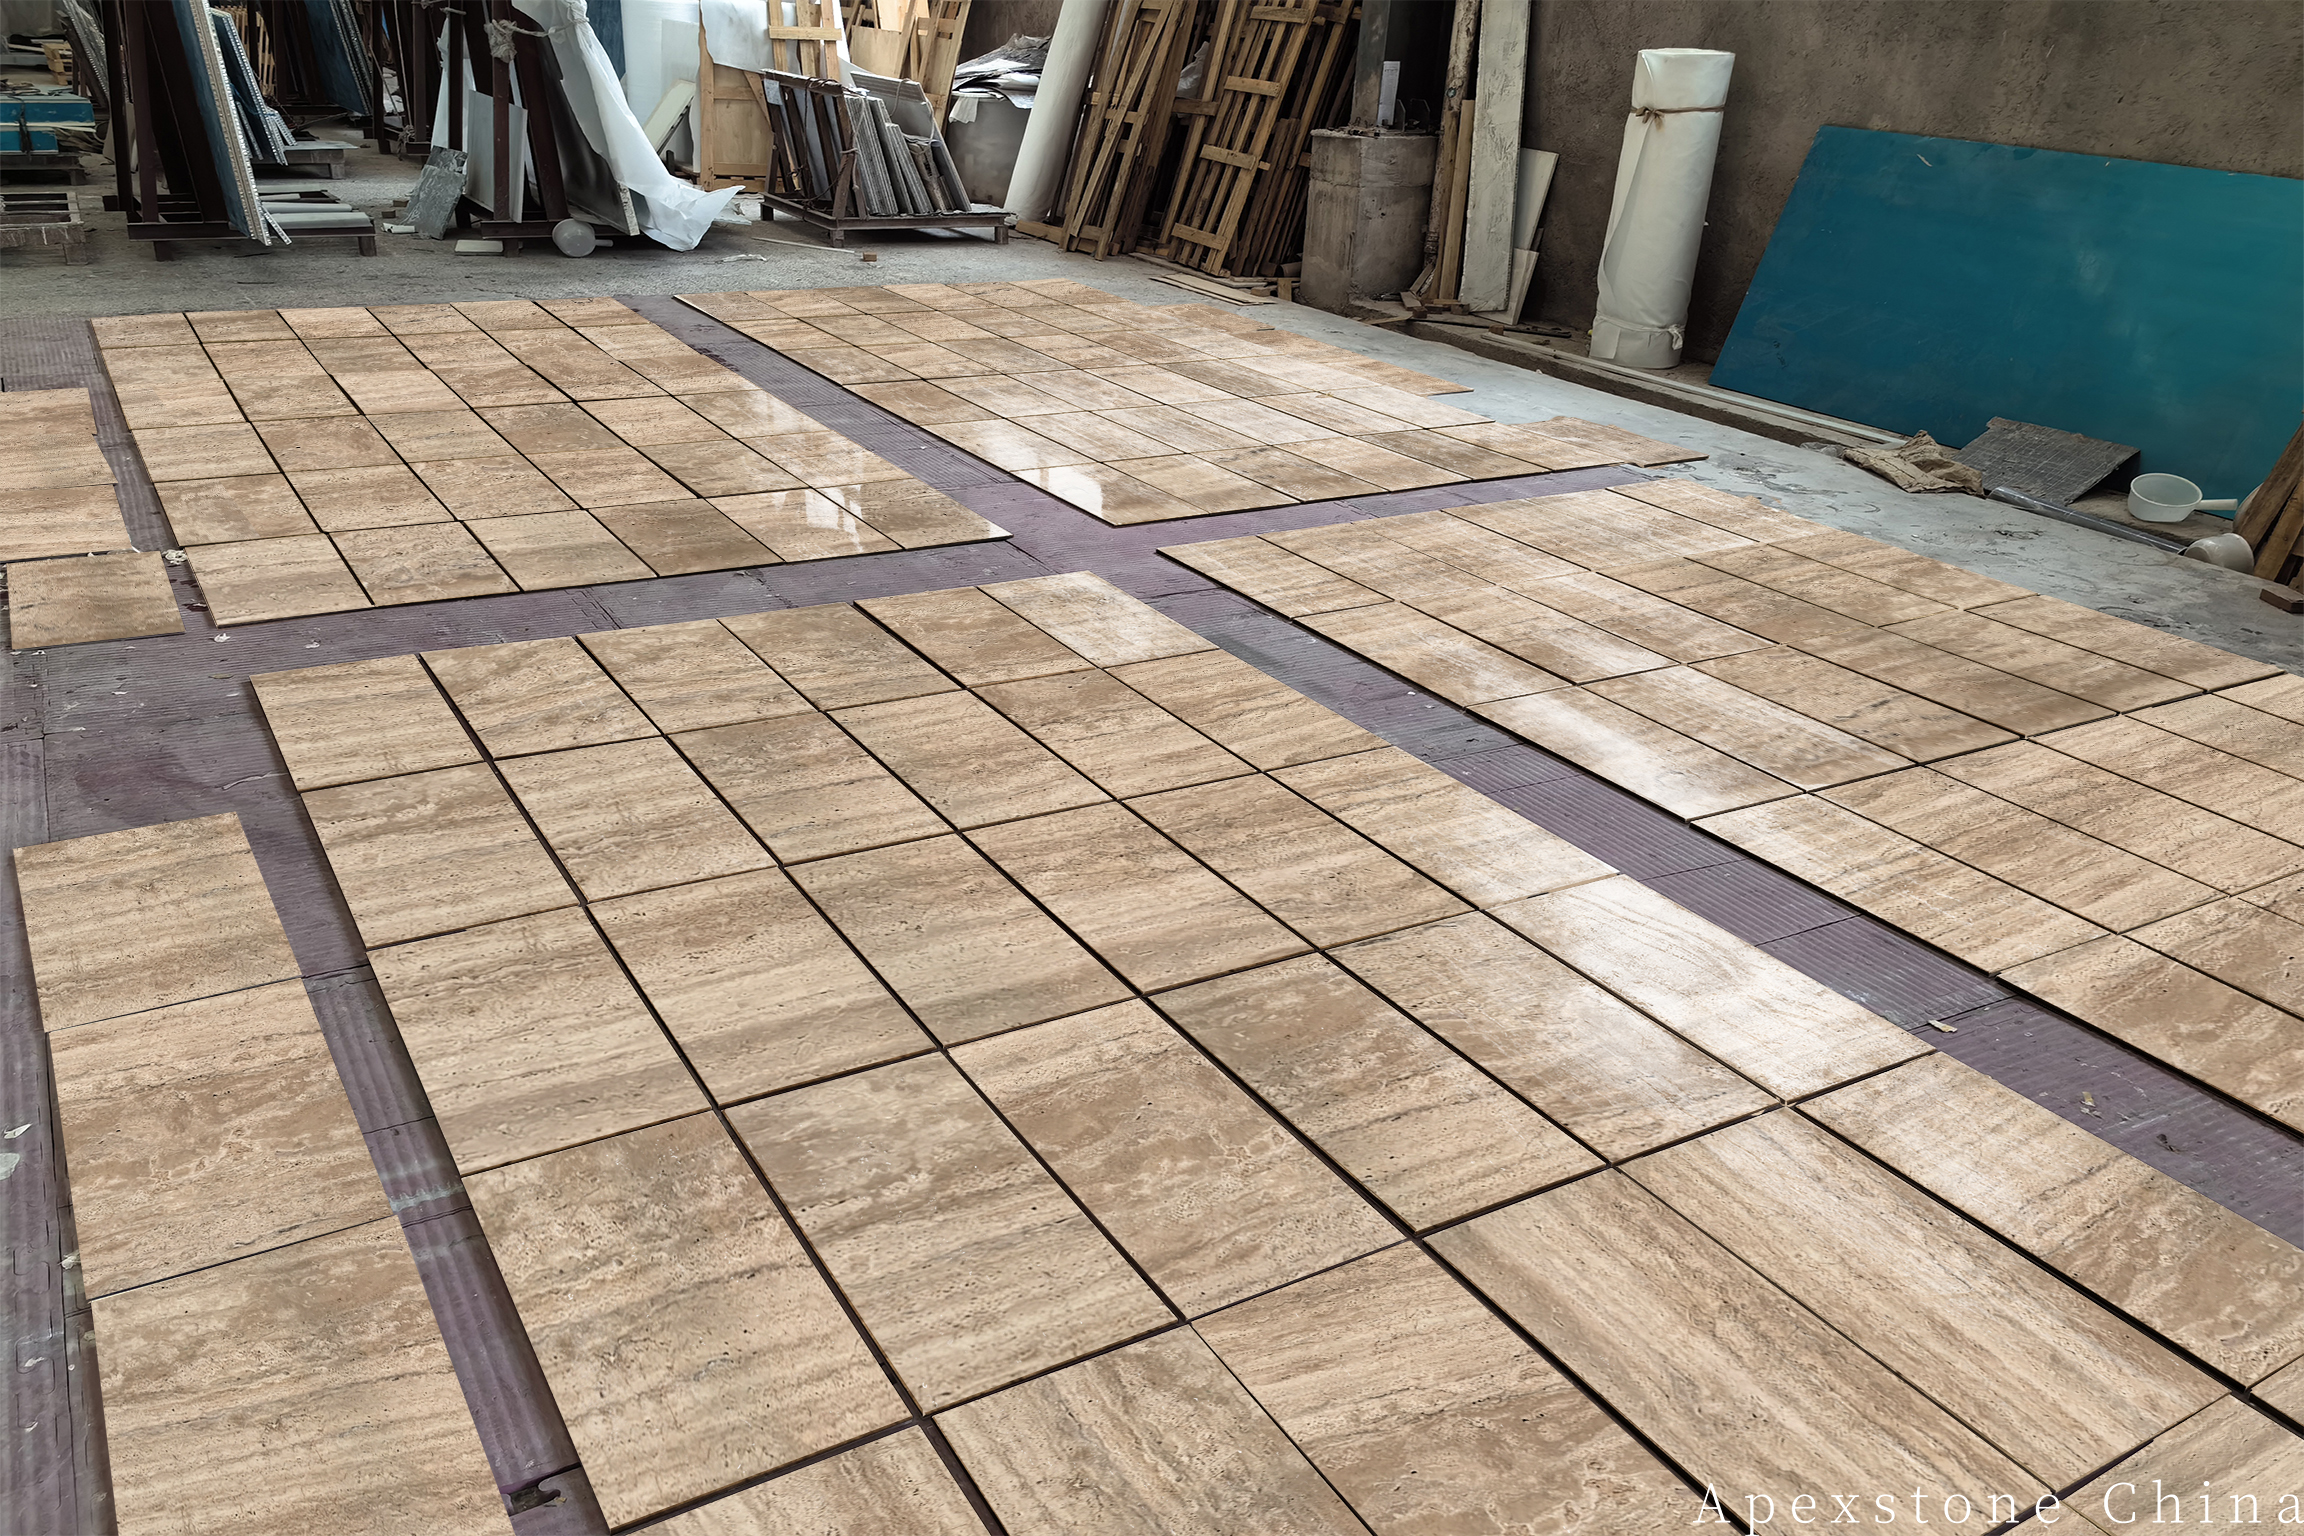
Format is a separate decision. Common calibrated formats include 600×600 mm and 800×800 mm. Larger formats reduce the number of joints and emphasize the stone’s movement, but they also demand a flatter substrate and more careful handling. Smaller formats are more forgiving on uneven walls. If the design calls for a large format, treat substrate flatness as a stricter requirement, not a looser one.
For a project using Italian travertine Romano tiles, the product page at Italian Travertine Romano Tiles — Floor, Wall and Backsplash shows the available formats and finishes — useful when matching the thickness and format to the application above.
3. Filled vs unfilled: match the surface to the environment
Travertine is naturally porous, and the voids can be left open or filled at the factory. The choice is not about quality; it is about where the tile will live.
- Filled honed / filled polished: smooth, closed surfaces suited to interior floors, walls, and areas where a cleanable, uniform face is wanted. Filling reduces the chance of dirt collecting in voids.
- Unfilled brushed / unfilled tumbled: textured surfaces that suit exterior paving, pool surrounds, and interior feature walls where a rustic or slip-resistant character is intended. Unfilled stone demands more attention to sealing and maintenance.
A common mistake is specifying an unfilled tumbled tile for a busy interior floor and then expecting it to behave like a honed surface. It will not; the open voids hold dirt and require a different cleaning regime. Equally, a polished filled tile on an exterior terrace may become slippery when wet. Match the finish to the exposure, and confirm the choice with the supplier before ordering.
Grain direction: align the linear veining
Travertine’s linear grain runs with the stone’s bedding plane. That means tiles cut from the same block have a direction, and laying them without regard to it produces a patchwork where some tiles run one way and others run across. The fix is simple but must be planned before setting: decide the grain direction for the field, and keep every tile oriented the same way unless a deliberate pattern (such as a herringbone) is specified. On a large floor, the grain is usually aligned with the main sight line or the longest wall. Dry-lay a few tiles first to confirm the visual effect; it is much easier to rotate a tile on the floor than to lift it after the mortar has set.
4. Grout joints: width, filler and the open-void problem
Joint width is a design decision, but it carries a maintenance consequence. On a calibrated floor the joints read as the only straight line in the room, so a narrow joint shows any residual variation faster, while a slightly wider one gives the installer room to keep the line true. Settle the width with the installer and the supplier together rather than on site, and put the number in the specification.
The filler has to suit the stone as well as the joint. Use a grout intended for natural stone, confirm that its colour is approved on a mock-up, and on unfilled brushed or tumbled surfaces keep the grout out of the face pores — grout pressed into open voids sets as patches that read as stains and are difficult to remove without scouring the texture. Seal before grouting so residue releases cleanly, and clean the face while the grout is still green rather than after it sets.
5. Sealing: time it around grouting
With water absorption of 1–3% on unfilled stone, travertine will take up some water and grout pigment if it is unsealed. The standard approach is to apply a penetrating sealer before grouting and again after grouting has cured. The first application protects the face from grout residue and makes cleanup easier; the second completes the protection after the grout lines are finished and the surface is clean and dry. Penetrating sealers leave the stone’s appearance largely unchanged, which is usually what a travertine specification wants. Do not seal over a damp tile or over grout that has not cured.
Coverage rate, cure time and recoat interval vary by product and belong to the sealer’s technical data sheet, not to a general rule — request that document before the order is fixed, because the grouting schedule and the protection of the finished floor both depend on it. A useful dryness check on site is that the tile no longer darkens when water is flicked onto an offcut or a hidden area.
Putting the sequence together
- Confirm substrate flatness, soundness, and dryness; resolve moisture and drainage issues first.
- Select thickness and format for the application (10 mm walls, 18 mm floors, 20 mm heavy-duty).
- Choose filled or unfilled finish to match interior/exterior exposure and maintenance expectations.
- Agree joint width and grout type, and approve the grout colour on a mock-up.
- Dry-lay to set grain direction and confirm the pattern.
- Apply penetrating sealer before grouting.
- Grout, clean the face while the grout is green, allow to cure, then apply the second sealer coat.
Each of these steps is inexpensive relative to the cost of correcting a failed installation. The stone itself is durable; the assembly around it is what needs attention.
Frequently asked questions
Can I use 10 mm travertine on a floor?
10 mm is normally specified for walls and backsplashes. Floors typically use 18 mm, and heavy-duty areas 20 mm. A floor application with 10 mm tile should be confirmed with the project designer and supplier, as it is outside the usual range.
Do I need to seal unfilled travertine differently?
The principle is the same — penetrating sealer before and after grouting — but unfilled surfaces have open voids that may need more sealer or a different maintenance routine. Confirm the sealer and application method with the supplier.
How do I know which direction the grain runs?
The linear veining follows the bedding plane. In most tiles the direction is visible on the face; if it is not, ask the supplier to mark the grain direction on the crates. Dry-laying a few tiles will make the direction obvious.
What water absorption should I expect from travertine?
Travertine typically has a water absorption of 1–3% on unfilled stone; a filled surface reads lower because the pores are closed. That is low enough for normal interior use with sealing, but it is not zero, so protect the surface before grouting and maintain the sealer over time.
For specification questions on formats, thickness, and finishes, contact the supplier with the project details — application, exposure, and expected traffic — so the tile can be matched to the installation rather than chosen on appearance alone.