A shower-specific maintenance guide for travertine walls: why continuous moisture changes the cleaning routine, how a squeegee habit and pH-neutral products protect the sealer, why joints and grout lines fail first, and a resealing schedule you can hand to a client.
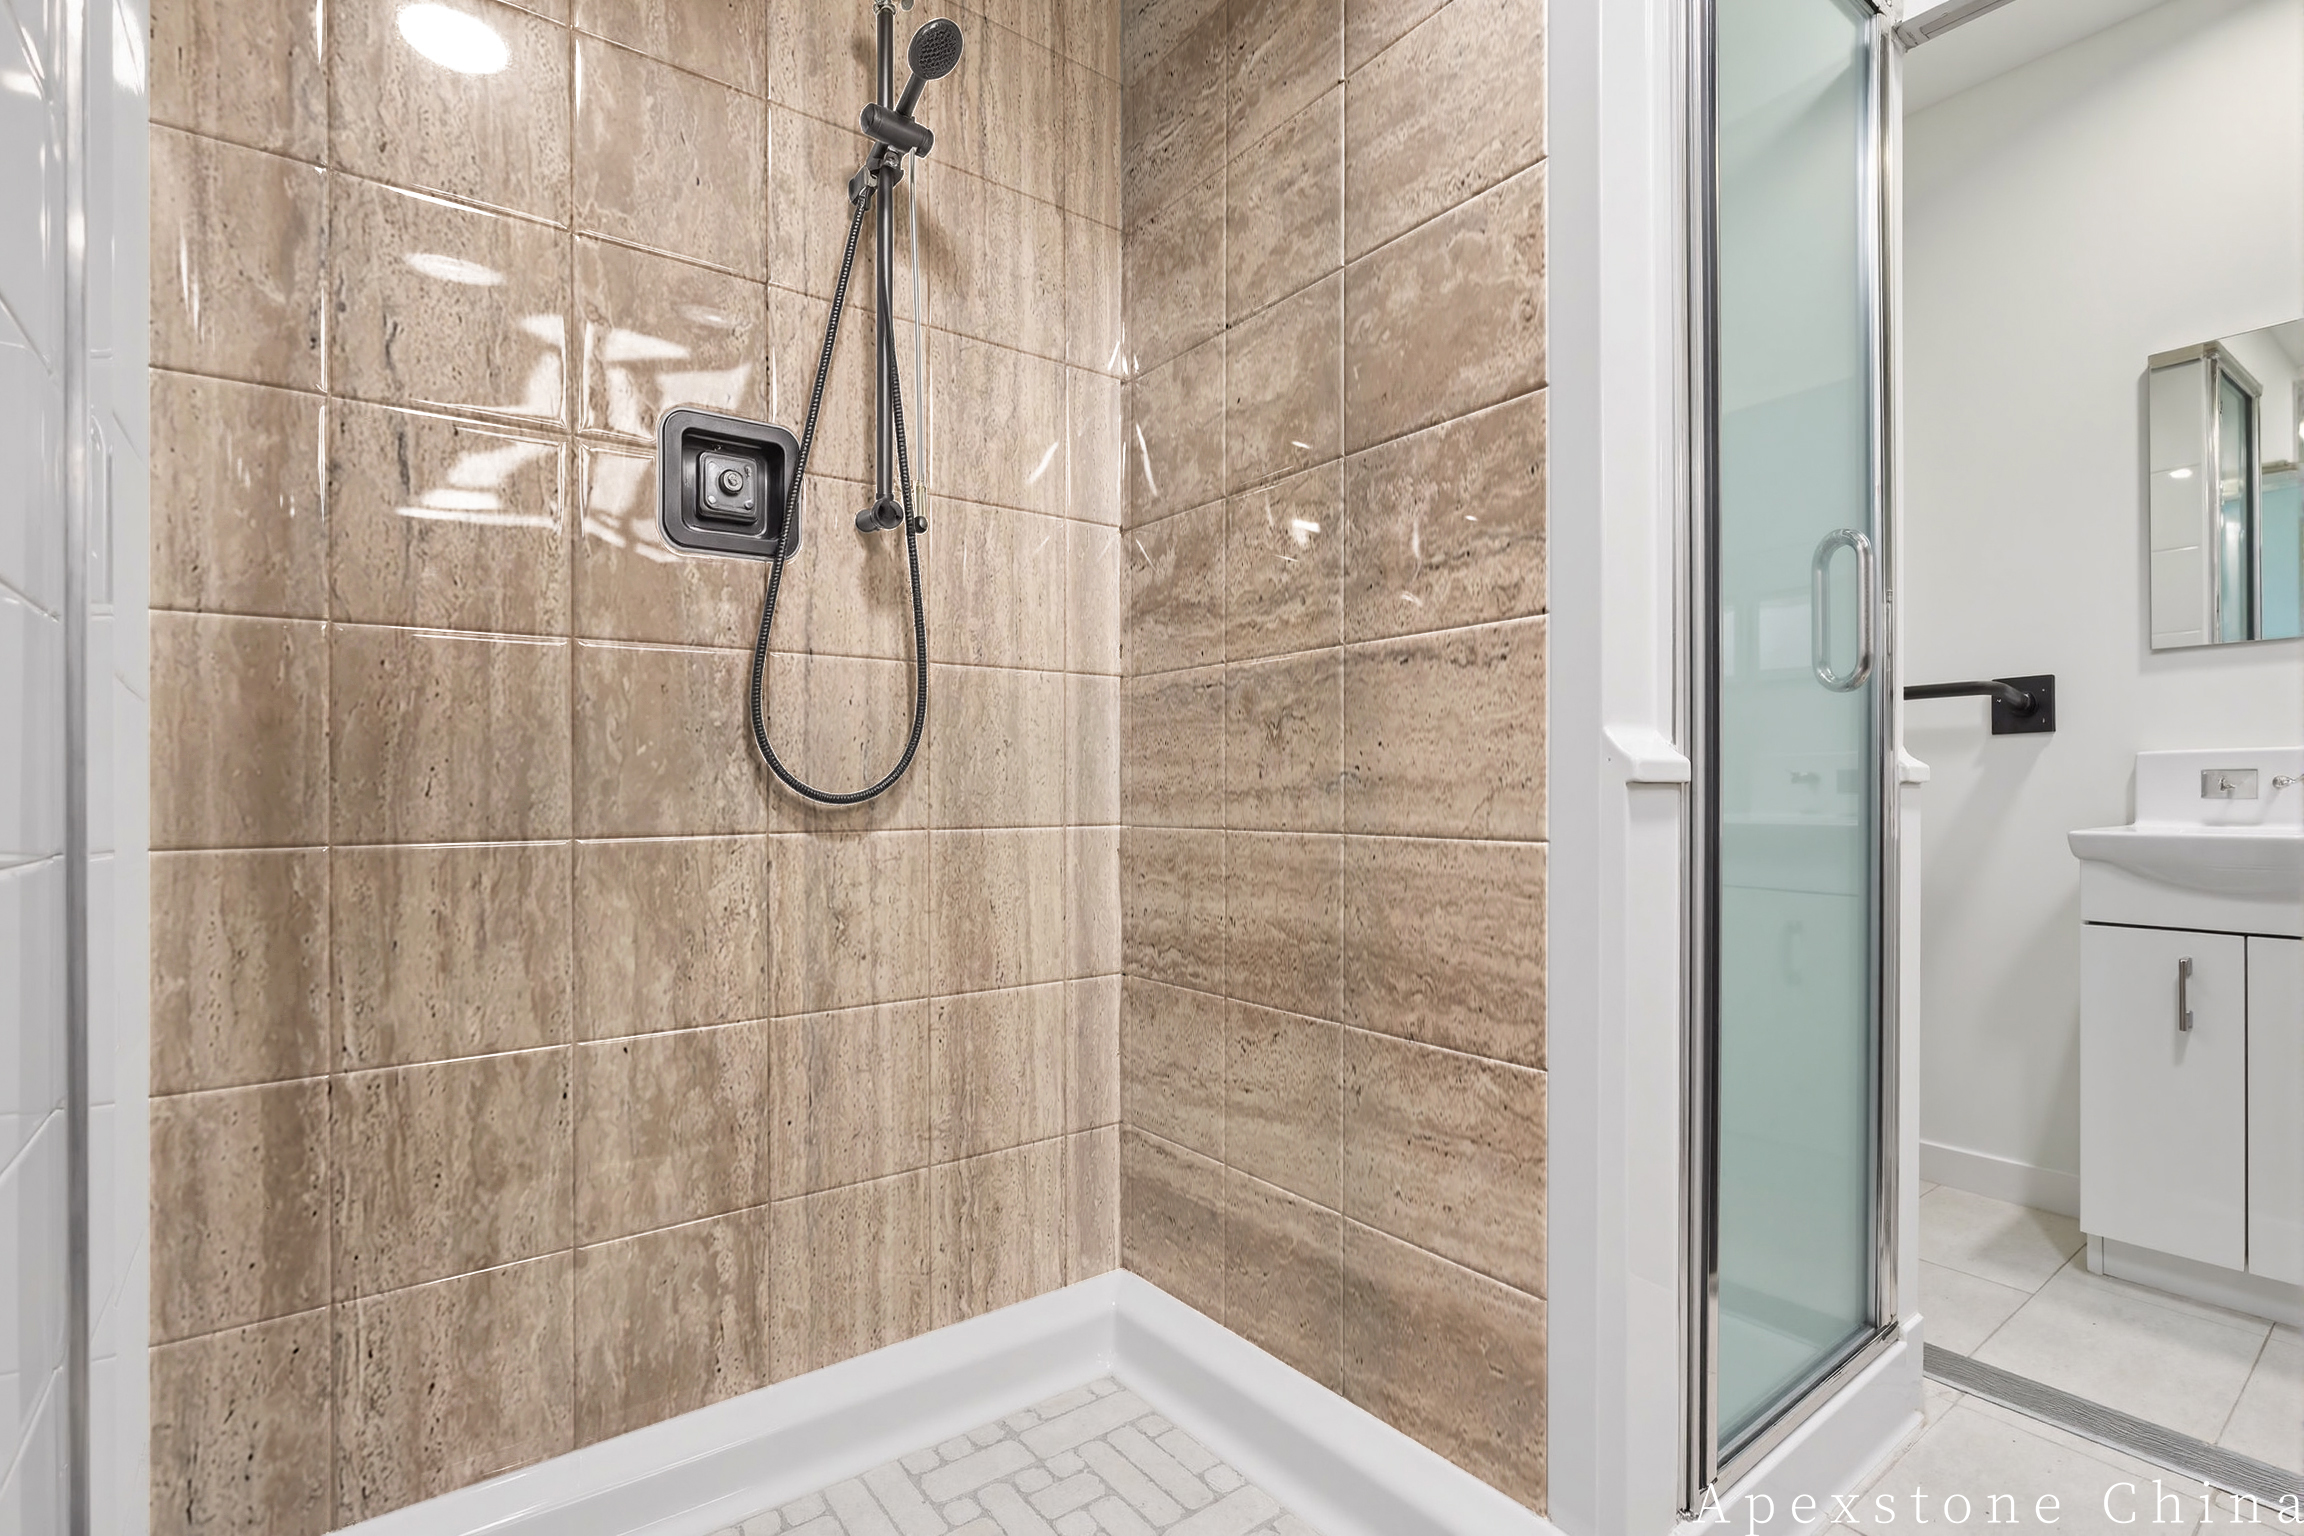
Travertine in a shower is not the same maintenance problem as travertine on a hallway floor. A floor sees intermittent spills and foot traffic. A shower wall sees water several times a day, keeps a film of moisture between uses, and collects soap residue in exactly the places where the stone is weakest: the joints. This guide covers how to clean travertine tile shower walls in a way that removes soil and soap scum while leaving the penetrating sealer where it belongs.
- Remove standing water with a squeegee after every shower; it is the cheapest sealer protection available.
- Use pH-neutral, stone-safe cleaners. Acidic and strongly alkaline products attack the sealer and the filled surface.
- Joints and grout lines are the weak points: they hold moisture longest and collect the most residue.
- Seal with a water-based penetrating sealer before and after grouting, then reseal every 1–2 years depending on use and water conditions.
- Large-format panels reduce the number of joints, which reduces the number of places that need attention.
Why a shower wall needs a different routine
Continuous moisture is the variable that separates a shower wall from any other travertine surface. Water does not simply pass over the stone and drain. It sits in the grout lines, creeps behind the edge of the panel at the base, and stays in the air as humidity long after the shower is switched off. A penetrating sealer reduces how much water the stone absorbs, but it does not make travertine waterproof, and it does not stop soap scum from settling on the surface.
That means maintenance has two jobs running at once: control what stays wet, and control what builds up. Cleaning products that are aggressive enough to strip soap scum quickly are often aggressive enough to degrade the sealer, and once the sealer is compromised the stone takes on water faster and the cycle gets worse. The goal is to clean often enough and gently enough that neither problem escalates.
Step one: the squeegee habit
Ten seconds with a squeegee after each shower removes the bulk of the water before it can soak into joints or dry into mineral film. For property managers and installers handing a shower over to a client, this is the single habit worth explaining in person.
- Work top to bottom. Start at the highest point of the wall and pull downwards in overlapping strokes so water does not run back over cleaned areas.
- Finish with the joints. Run the blade along horizontal grout lines and the base, where water pools longest.
- Leave the door or curtain open after use so air can move across the surface. Ventilation dries the joints, not just the field of the tile.
Squeegees with worn or hardened blades smear water instead of removing it. If the blade leaves streaks rather than a dry line, it needs replacing.
Step two: soap scum control with pH-neutral products
Soap scum is the residue left when soap reacts with minerals in water. On a filled honed travertine surface, it shows as a dull, slightly grey haze, most obvious in the lower third of the wall where water lingers.
Use a pH-neutral cleaner formulated for natural stone, diluted according to the product label, applied with a soft cloth or non-abrasive pad. Work in sections, rinse thoroughly with clean water, and dry the surface with a microfiber cloth rather than letting it air dry. Rinsing matters as much as cleaning: cleaner left on the surface is residue that attracts more soil.
Avoid acidic cleaners (including vinegar-based products), bleach-heavy products, abrasive powders and scouring pads. Acids attack the calcium carbonate in travertine, and strong alkalinity can degrade the sealer film. Neither is a routine maintenance product for a sealed travertine shower, however convenient it looks on a bottle.
Why joints and grout lines are the weak points
Every joint in a travertine shower is a place where three things happen at once: water collects, the sealer coating is thinner or interrupted, and cleaning tools reach least effectively. Grout is more porous than sealed stone, so it holds moisture longer. That is why the first signs of a maintenance problem usually appear along the joints rather than in the middle of a tile.
Practical implications for the cleaning routine:
- Clean joints as part of the same routine, not as a separate deep-clean every few months. Small, frequent attention beats one aggressive session.
- Dry joints deliberately after cleaning. A cloth run along the grout lines does more for long-term condition than a stronger cleaner.
- Watch for darkening or crumbly grout and for joints that stay damp hours after a shower. These signal that moisture retention needs attention before it becomes a bigger problem.
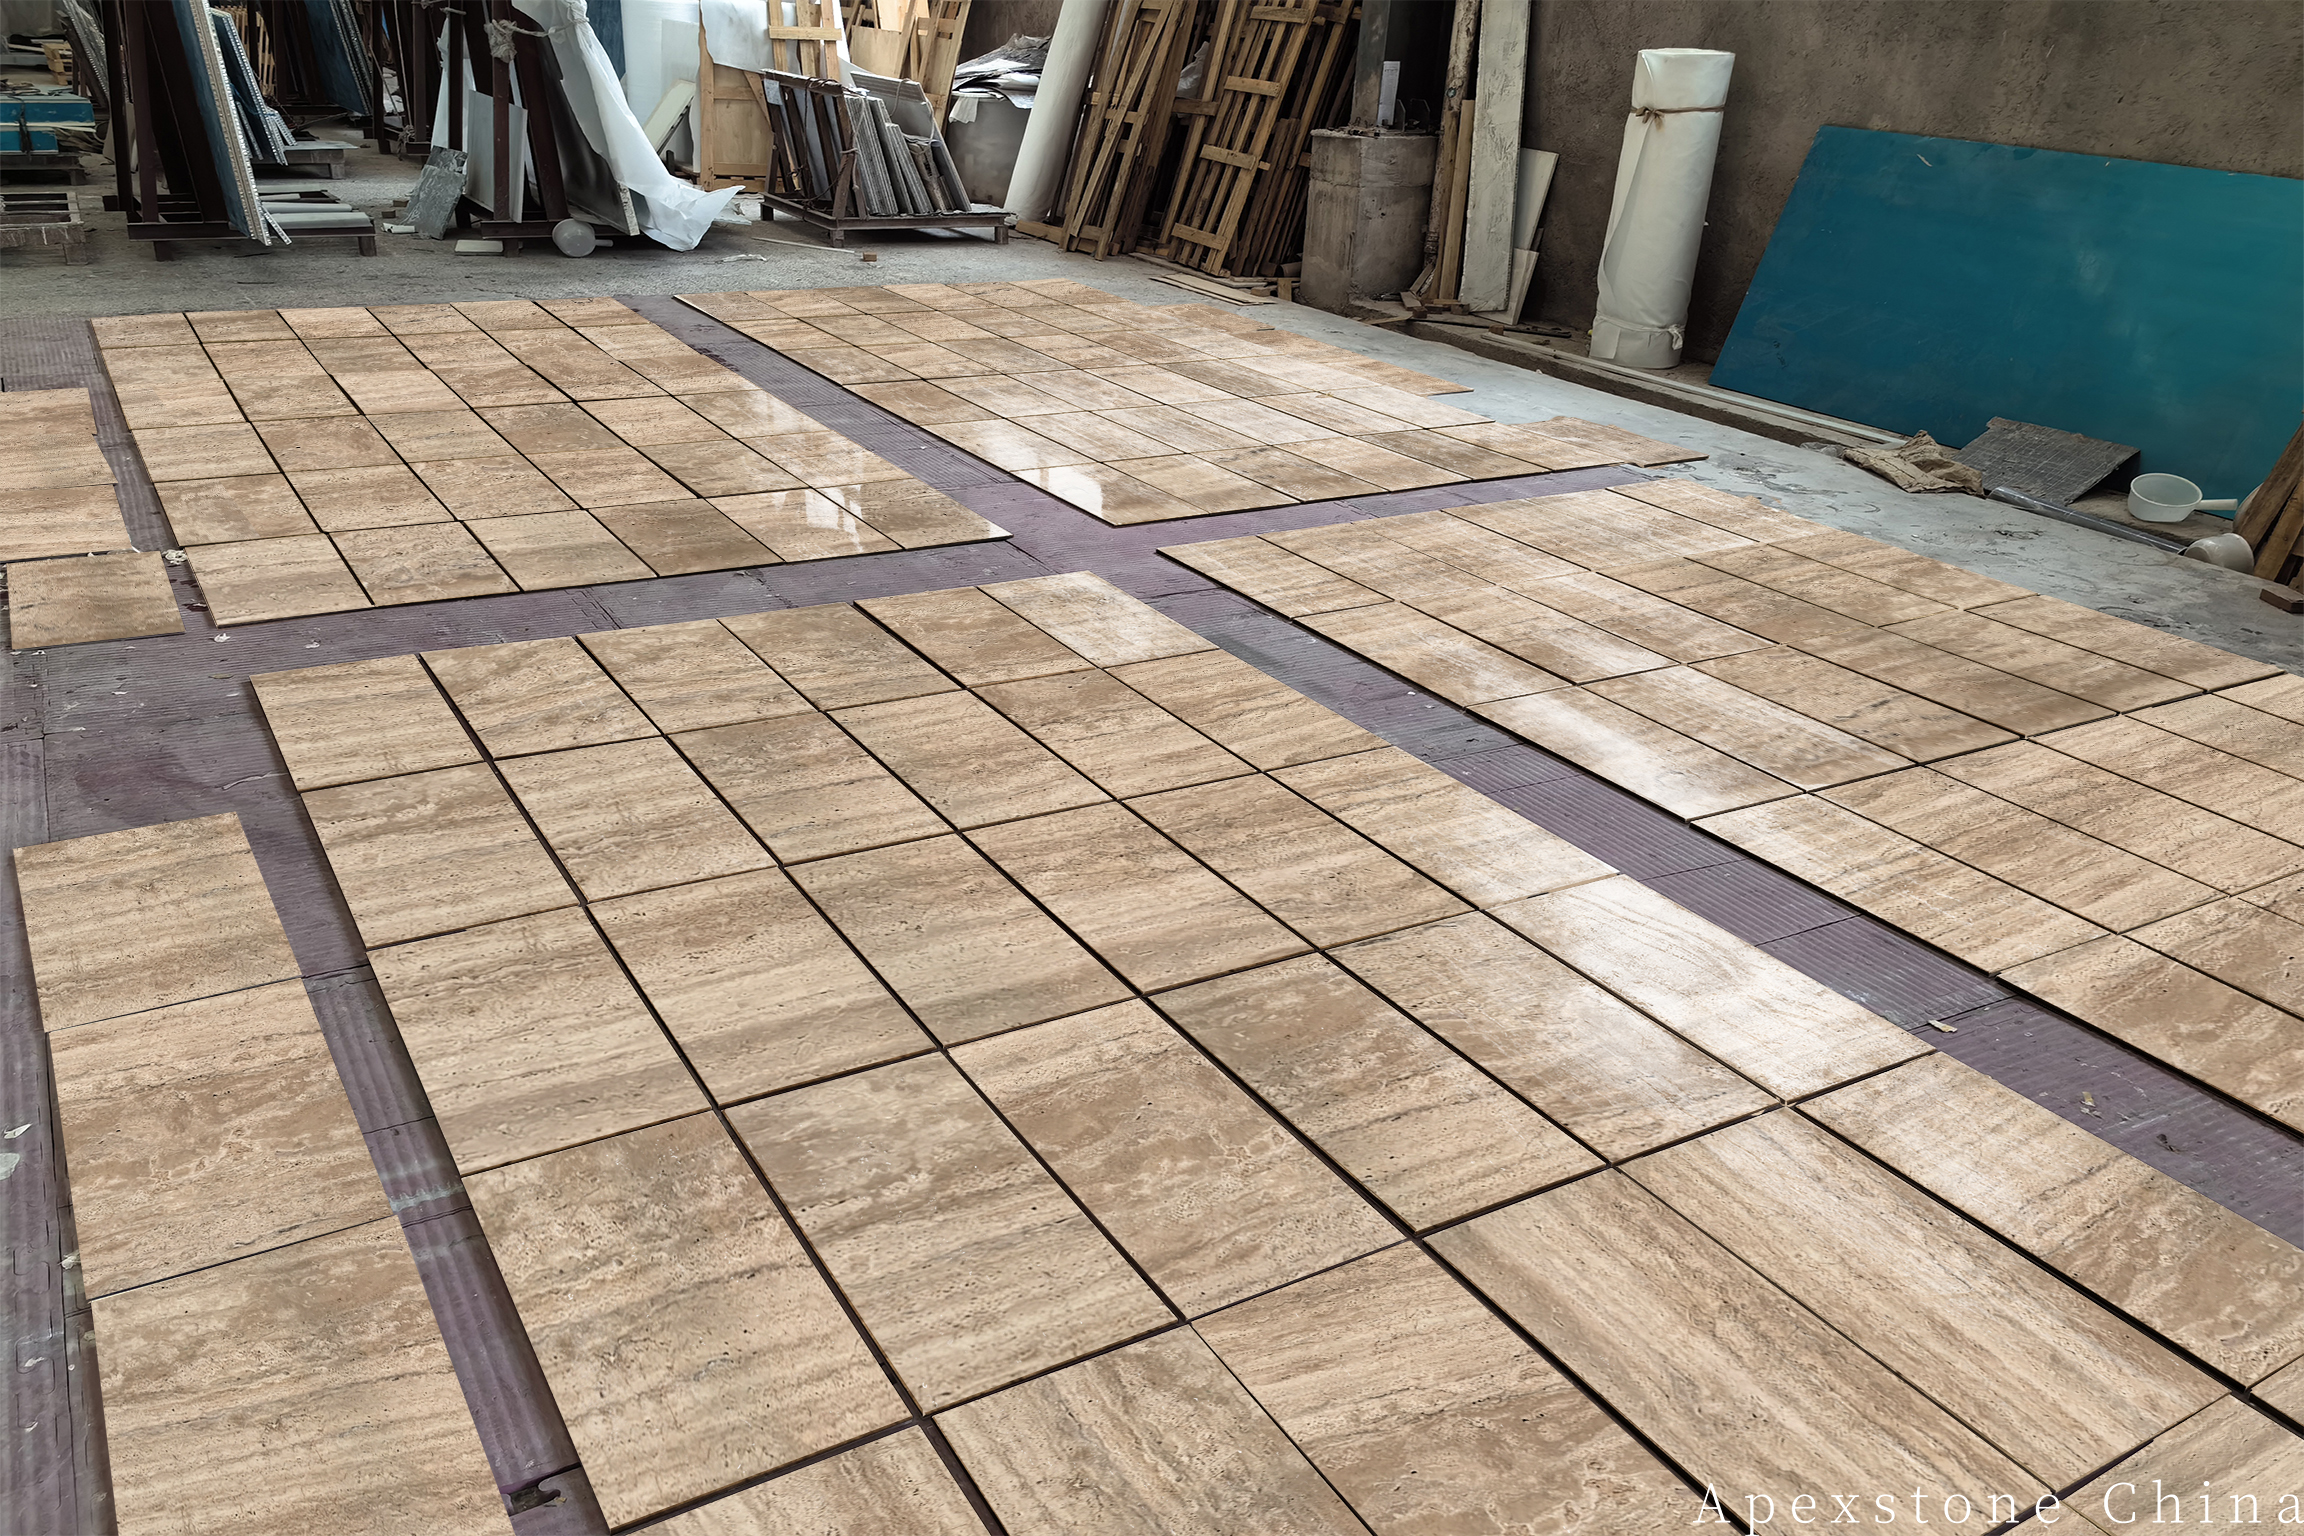
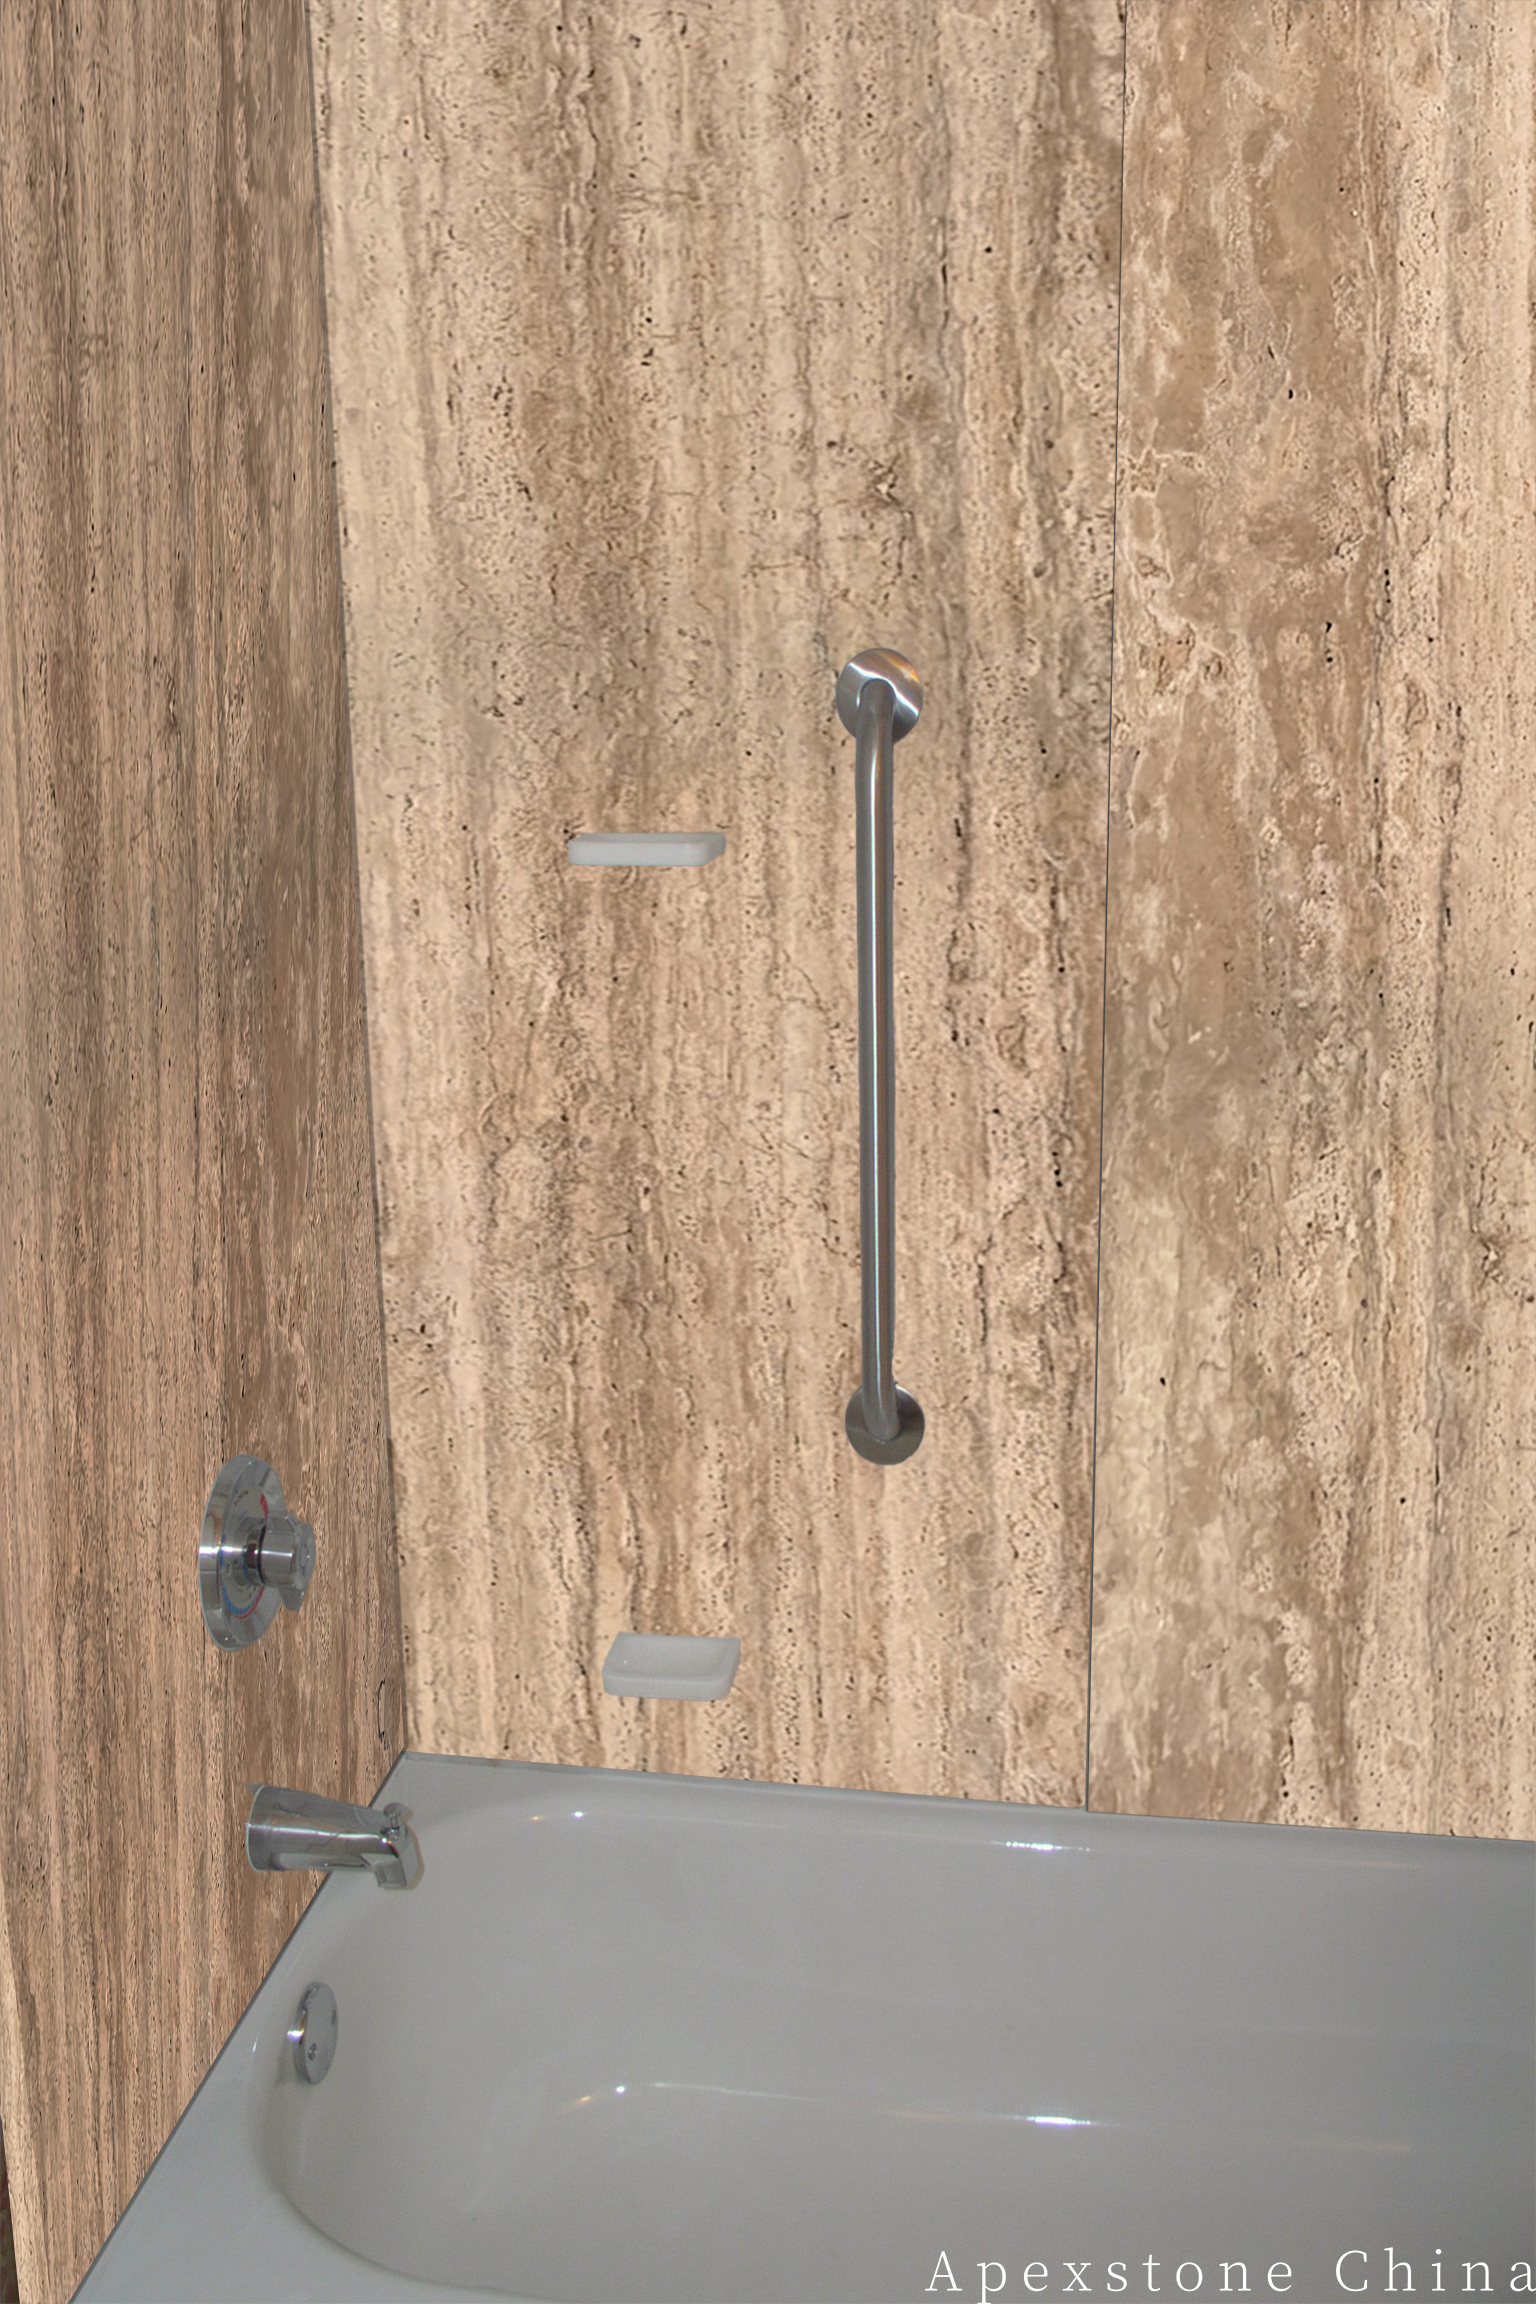
This is also where panel format matters at the specification stage. Large-format travertine panels reduce the number of joints per square metre, so fewer grout lines need to be cleaned, dried and resealed. Panels in the Classico Roma travertine range—listed on our site as Travertine Romano panels—are available up to 1800×900 mm (72×36 inch), in 10 mm (3/8 inch) or 18 mm (3/4 inch) thickness. A large shower wall covered in fewer panels has proportionally fewer weak points than the same wall laid in small modules.
The filled honed surface and what it means for cleaning
The standard finish on these panels is filled and honed, with voids filled using colour-matched epoxy. Filled voids are smoother than open travertine and less likely to trap soap residue, but the filler is still a material that reacts to harsh chemistry. Stick to neutral cleaners and a soft pad; an abrasive pad can dull the honed surface and scuff the filler.
A sealing regime you can hand to a client
Sealing is not a one-off installation step. For a shower, it is a recurring maintenance item, and it should be written into the handover documentation in plain language.
| Stage | Action | Why |
|---|---|---|
| Before grouting | Apply penetrating stone sealer to the panels | Protects the face and edges during grouting and gives the grout a consistent background |
| After grouting | Apply a second coat once grout is fully cured | Seals the face after installation handling and covers the filled surface consistently |
| Ongoing | Reseal every 1–2 years, depending on usage and water conditions | Shower use and water hardness both shorten sealer life; frequent use justifies the shorter interval |
For continuous moisture, a water-based penetrating sealer is the recommended choice. It penetrates rather than sitting as a film on the surface, so there is no coating to peel or scuff, and the stone keeps its honed appearance.
Hand the client a simple test rather than a fixed calendar: in the shower, water beaded on a freshly sealed surface should sit on the stone instead of darkening it quickly. When beads stop forming and the stone darkens more readily, it is time to reseal. Pair that observation with the 1–2 year interval and the client has a rule they can actually apply.
Routine cleaning checklist
- After every shower: squeegee top to bottom, finish on joints, leave the door open.
- Weekly: pH-neutral stone cleaner, soft cloth, thorough rinse, dry with microfiber.
- Monthly: inspect grout lines and the base for darkening or persistent damp; check whether water still beads.
- Every 1–2 years: reseal with a water-based penetrating sealer; adjust the interval for heavy use or hard water.
Frequently asked questions
Can I use vinegar to remove soap scum from travertine?
Vinegar is acidic, and travertine is a calcium-based stone. Repeated acidic cleaning can etch the surface and degrade the sealer. Use a pH-neutral stone cleaner and mechanical action with a soft pad to loosen soap scum instead.
How do I know when the sealer needs renewing?
Watch how water behaves on the wall after a shower. When it stops beading and the stone darkens quickly, the sealer is losing effectiveness. As a rule, reseal every 1–2 years, with the shorter interval for high-use showers or hard water.
Should I seal before or after grouting?
Both. Seal the panels before grouting, then apply a second coat after the grout has cured. This protects the stone during installation and ensures the face is consistently sealed once the joints are finished.
Do large-format panels make a shower easier to maintain?
They reduce the number of joints on the wall, and joints are where moisture and residue concentrate. Fewer joints means less grout to clean, dry and inspect — one reason large-format travertine panels are worth considering for shower walls. This Classico Roma travertine (our Travertine Romano shower wall panels) is available up to 1800×900 mm in 10 mm or 18 mm thickness; see the Travertine Romano shower wall panels for the full format and finish details.
The short version
Cleaning a travertine shower without stripping the sealer comes down to controlling moisture and controlling chemistry. Squeegee after every shower, clean with pH-neutral products and rinse well, give the joints the attention they need because they are the weak points, and reseal on a 1–2 year cycle with a water-based penetrating sealer. Specifying larger panels at the design stage reduces the number of joints you have to manage for the life of the bathroom.
Resealing intervals and product selection should be confirmed against the specific sealer manufacturer's instructions and the water conditions on site.