Most travertine floor damage is not caused by the wrong cleaner — it is caused by grit that stays on the surface. This guide explains how to clean travertine tile floors in the right order: entry matting and dry dust-mopping first, damp mopping with a pH-neutral cleaner second, then grout-line care and finish-specific notes for honed, polished, brushed and tumbled surfaces.
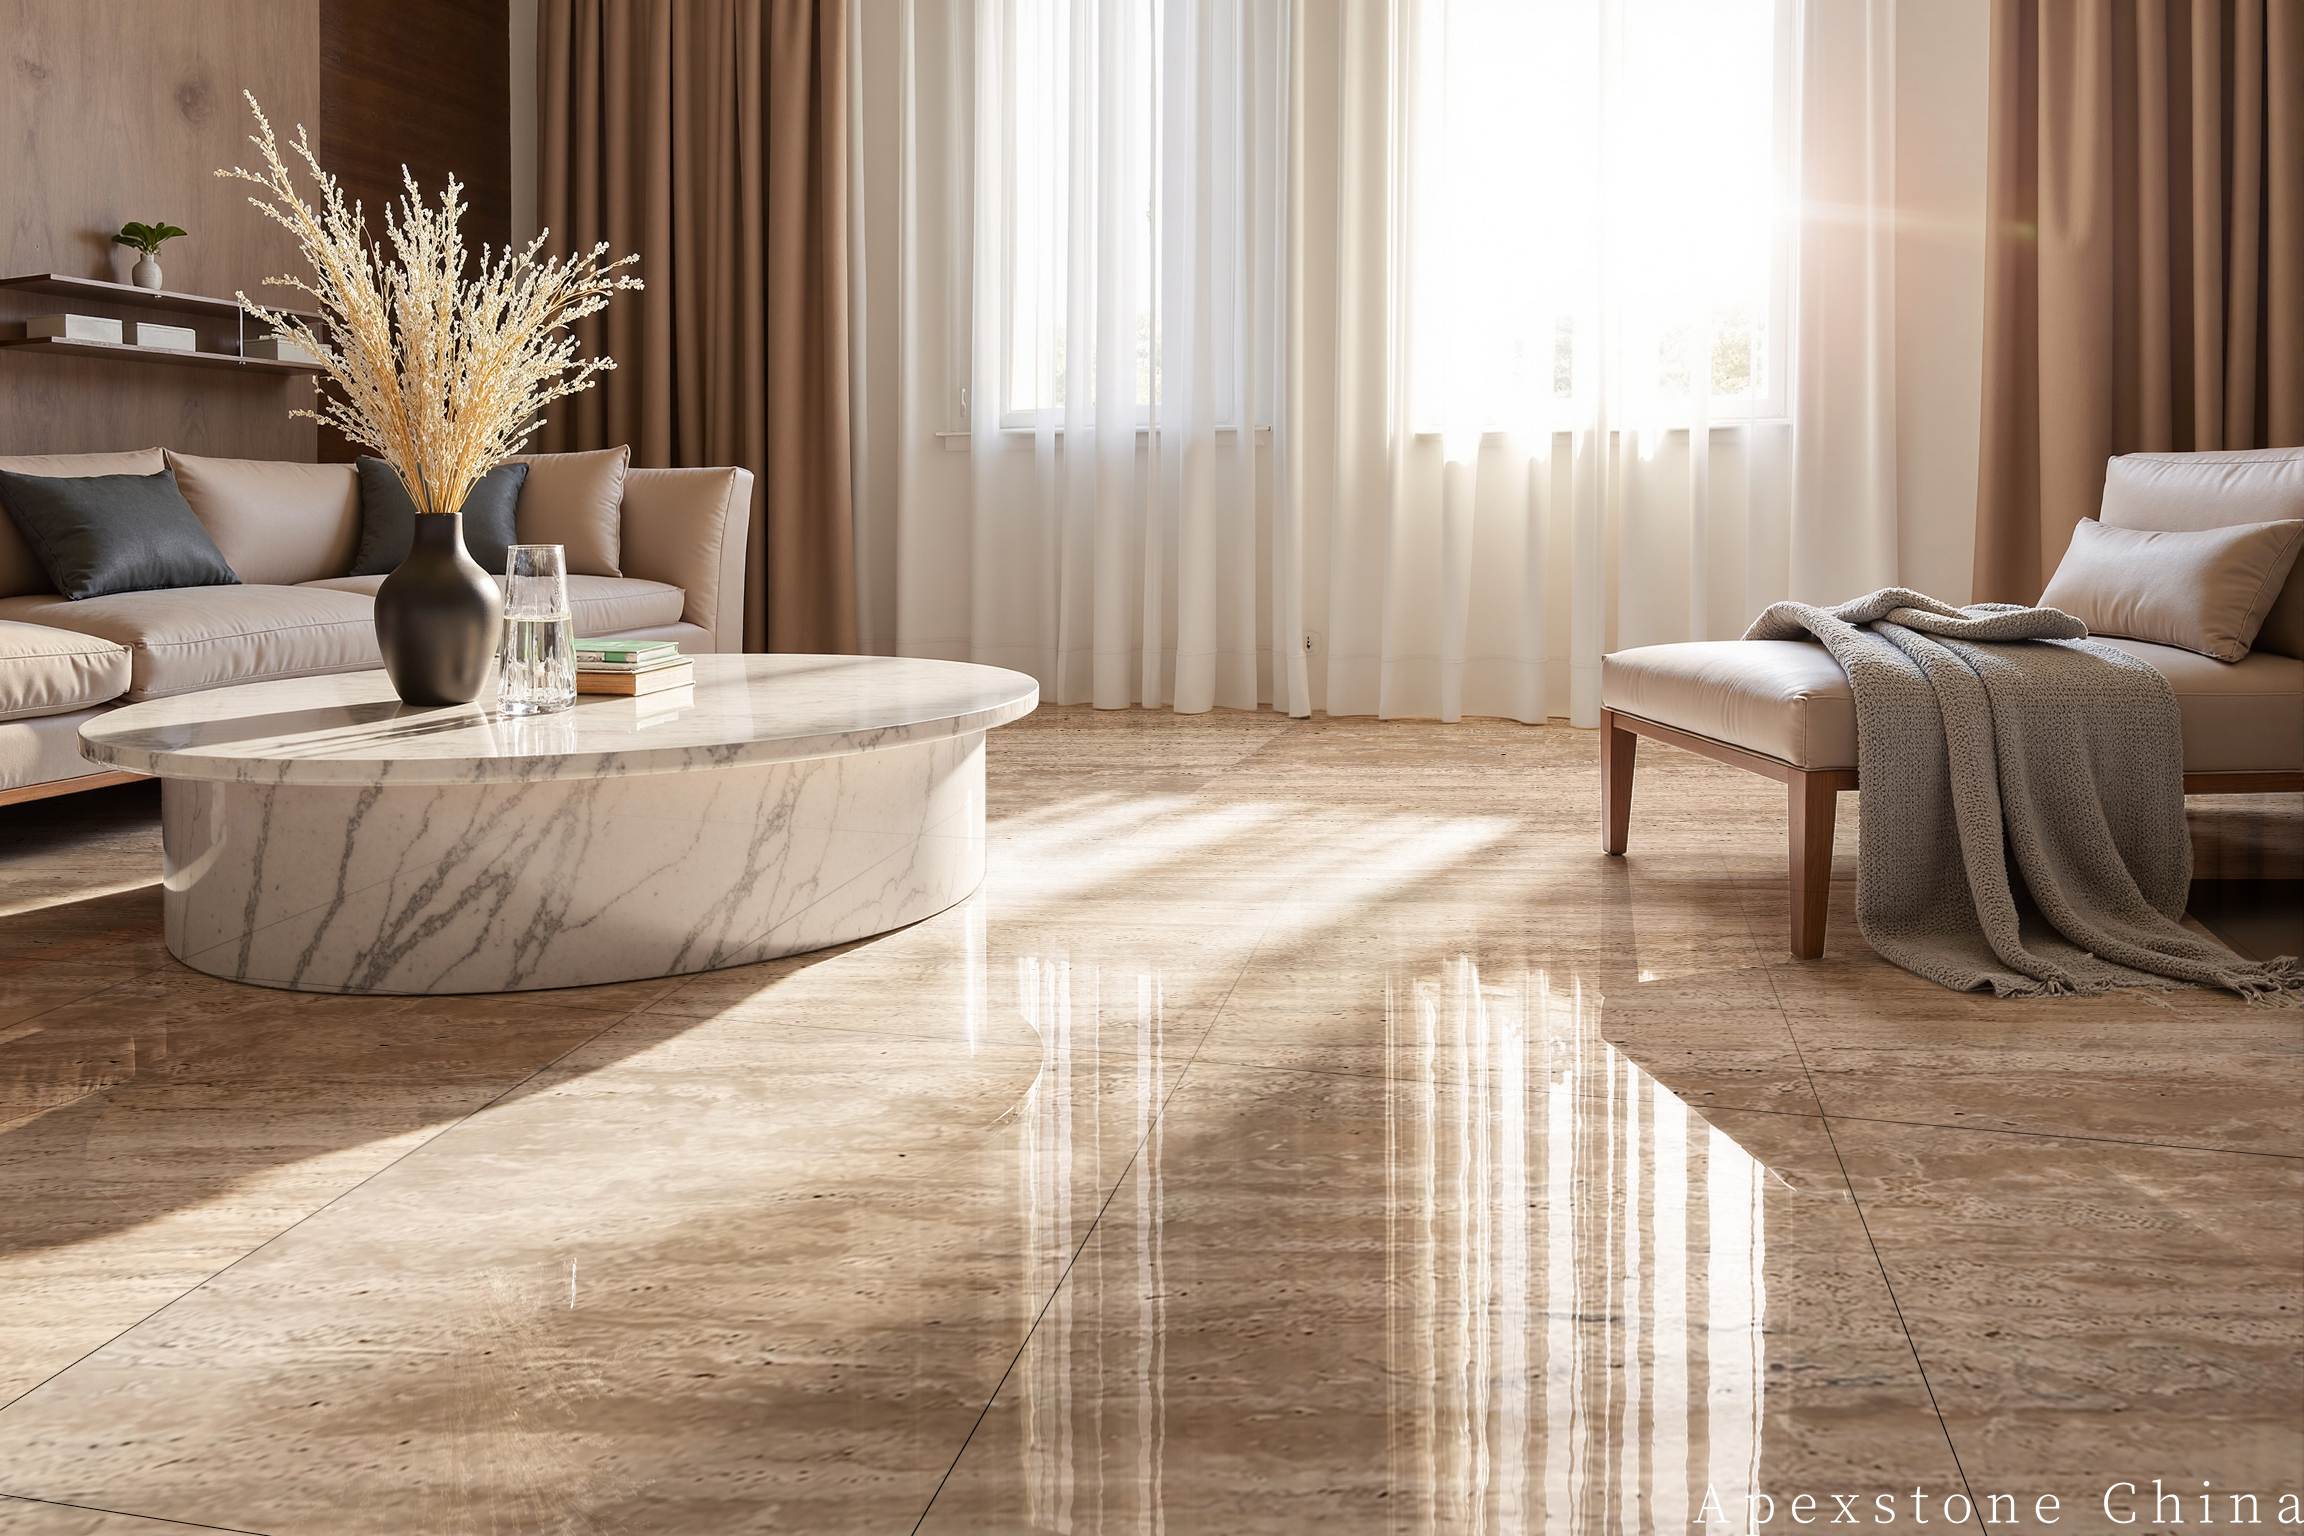
Maintenance Guide · Stone Floors
Travertine floors rarely fail because someone used the wrong bottle. They wear because grit stays on the surface and gets walked in, day after day, under a finish that is soft enough to record every pass. The order of work matters more than the product: remove dry grit before any liquid touches the stone, then clean damp, then look at the grout and the finish separately. That sequence is the reliable answer to how to clean travertine tile floor surfaces without dulling them.
Key takeaways
- Dry grit removal comes first; wet cleaning only after loose abrasive material is off the floor.
- Use a pH-neutral cleaner and a damp — not wet — mop; travertine takes up a small but real share of water (the industry range usually quoted for unfilled stone is 1–3% by absorption test), so it should never be left standing wet.
- Match care to finish: filled honed and filled polished, or unfilled brushed and unfilled tumbled, each hide wear differently.
- Unfilled tumbled and brushed surfaces hold debris in their open texture and need more frequent dry passes, not more water.
- Penetrating sealer slows absorption; plan on periodic resealing rather than a single permanent treatment.
In this guide
Abrasion first: why grit is the main enemy
Sand, soil and small stone particles act like sandpaper underfoot. On a honed or polished surface they leave the dull traffic lanes that owners usually blame on cleaning chemicals. On an unfilled tumbled floor the same particles lodge in the open texture and abrade from inside the pits as people walk over them.
The practical consequence is a cleaning order, not a cleaning product: get the abrasive material off the floor before you introduce water. Water turns fine dust into a slurry that a mop pushes along the grout lines and into the surface texture, where it settles as the floor dries. A dry pass first removes the grit while it is still loose.
Travertine is a relatively porous stone. The 1–3% water absorption figure usually quoted for it is an industry range measured on unfilled stone under standard absorption testing; a resin-filled surface reads lower because the pores are closed. Confirm the figure for the finish you are actually buying with your supplier before you use it to set a cleaning and sealing interval.
Step 1 — Entry matting and dry dust-mopping
Control what arrives at the door
Most grit enters on shoes. A two-zone entry — an outdoor scraper mat plus an indoor absorbent mat — removes a large share of the abrasive load before it reaches the travertine field. Walk-off matting should run long enough to take three to five paces at the main entrances — roughly 2 to 3 m, deeper where traffic is heavy — across the full width of the opening. It remains the single cheapest measure for keeping a stone floor looking even.
Dust-mop before you mop
- Use a dry microfiber flat mop or a soft brush head; avoid stiff bristles and anything with an abrasive pad.
- Work in overlapping passes, and lift rather than drag the head when turning, so collected grit is not ground back into the stone.
- Shake or vacuum the mop head outside or into a waste container between areas, and clean the heads regularly.
- High-traffic lanes and the strip just inside each entrance need more frequent passes than the rest of the field.
Frequency depends on use. In a home, a daily pass in the main circulation routes is often enough. In a hotel lobby, showroom or retail floor, several passes a day are realistic, and the dry step should be the first task of every shift. For large fields, a wide dry flat mop covers more area per pass and keeps the routine practical.
Step 2 — Damp mopping with a pH-neutral cleaner
Only after the dry pass should the floor get wet. Use a pH-neutral cleaner formulated for natural stone, mixed according to the label, and a mop head that is damp rather than soaked. Wring it out so no water pools on the surface or runs into the grout lines.
- Change the cleaning solution when it becomes visibly soiled; dirty water redistributes grit.
- Work in small sections and dry the surface with a clean, dry microfiber pad if any film or standing moisture remains.
- Keep the floor dry between cleanings — spills should be blotted promptly rather than left to sit.
- Avoid acidic cleaners, including vinegar-based and citrus-based products, and avoid anything described as a heavy-duty descaler or rust remover.
The 18 mm thickness of a travertine floor tile gives the slab structural reserve, but it does not change the surface's absorption behaviour. The same quoted 1–3% absorption range applies to the stone itself, so the rule stays the same regardless of tile size and finish: damp, brief contact, then dry.
Step 3 — Grout-line care
Grout lines collect fine grit and soil because a mop tends to push material toward them. Two things help. First, dry dust-mopping with a head that reaches into the joints lifts loose material before it is wetted. Second, a soft brush used along the lines with a pH-neutral solution loosens soil without scouring the stone edges.
Even joints matter here. Travertine floor tiles are commonly supplied in 600x600 mm and 800x800 mm formats, calibrated to ±0.5 mm so the field lays flat and grout lines stay even. Even lines are easier to clean with a single pass of the brush than wandering joints, because the brush follows a consistent channel instead of catching on lippage.
Do not use a hard scraper, a metal tool or an abrasive powder on grout or on the adjacent stone. If a joint has stained, clean it locally and blot dry rather than flooding the line.
Step 4 — Finish-specific notes
The same cleaning order applies to every finish, but what you see — and where debris collects — differs. Travertine floor tiles come in four common finishes, and the care plan should follow the surface.
| Finish | Surface character | What shows first | Care emphasis |
|---|---|---|---|
| Filled honed | Filled, smooth, low sheen | Dull traffic lanes and faint scuffs in the walking path | Dry mop often; damp mop with pH-neutral cleaner; keep abrasive grit off high-traffic lanes |
| Filled polished | Filled, smooth, reflective | Loss of gloss in traffic lanes; smears from wet mopping | Damp mop with a well-wrung head and buff dry; avoid anything that leaves a film |
| Unfilled brushed | Open texture, brushed surface | Dust and fine grit held in the texture | More frequent dry passes with a soft brush head; vacuum or lift debris rather than washing it in |
| Unfilled tumbled | Open texture, softened edges, uneven face | Debris lodged in pits and along the tumbled edge | Dry removal first; local damp cleaning of pits; avoid flooding, which drives soil deeper |
Filled honed floors
Honed surfaces hide scratches less well than polished ones in some lighting, but they show dull patches clearly where grit has been walked in. The answer is frequency of dry passes rather than stronger chemistry. Keep the cleaner pH-neutral and the mop damp; a honed surface does not need a gloss product, and adding one usually creates a film that attracts soil.
Filled polished floors
Polish makes smears and streaks visible. A wet mop leaves a haze as it dries, so wring the head thoroughly and finish with a dry microfiber pass. If a mark needs local attention, work on the spot and dry it immediately rather than rewetting the whole floor.
Unfilled brushed and tumbled floors
Open texture changes the maintenance rhythm. Debris collects in the pits and along the softened edges, and a wet mop tends to push fine soil deeper into those recesses. Spend the extra time on dry removal: a soft brush head, a vacuum with a suitable floor tool, and frequent passes. When damp cleaning is needed, keep it local and controlled, and blot the texture dry rather than letting water stand in it.
Sealing, testing and resealing
A penetrating sealer reduces the rate at which the stone takes in water and oil, which buys time to blot a spill before it becomes a stain. It does not make travertine waterproof, and it does not replace dry grit control. Plan a regime with periodic resealing rather than treating one application as permanent.
When to reseal is best judged on the floor rather than on a fixed calendar. Use a simple water-bead test: put a few drops of water on a clean, dry, less visible area and watch them. If the drops stay tight and sit proud for a minute or more, the sealer is still working. If they spread and darken the stone within seconds, the surface is taking water again and needs attention. Repeat the test in a traffic lane and at an entrance, not only in a quiet corner, because those zones wear first.
For a fresh application or a top-up, work on a clean, fully dry surface: apply thin, even coats with a lint-free applicator, wipe off any excess before it dries so it does not set as a film, and keep the floor dry and free of foot traffic for the curing time stated on the product's technical data sheet. Confirm the recommended coverage rate and recoat interval there as well, and with your stone supplier for the specific finish and environment — a polished filled surface and an unfilled tumbled surface in the same building may not need the same schedule. On a large field, prioritise the traffic lanes and the strips just inside each entrance rather than recoating the whole floor at once.
Common mistakes
- Mop first, dust later. Wetting grit before it is removed turns it into slurry that settles in the joints and texture.
- Flooding the floor. Travertine absorbs water; standing water on the surface or in the grout lines works against the finish and the sealer.
- Acidic or abrasive products. Vinegar, citrus cleaners, descalers and abrasive powders are the wrong chemistry for a calcium-based stone.
- Steam or high-pressure treatment. These methods are not part of a finish-safe routine for a sealed travertine floor; they are often proposed as a shortcut past the dry step.
- Ignoring the entrance. Without matting, the grit load at the door defeats every other step.
- Treating all finishes the same. An unfilled tumbled floor needs more dry work and less water than a filled polished one.
FAQ
How often should a travertine tile floor be cleaned?
Dry dust-mopping should be frequent — daily in circulation routes at home, several times a day in commercial entrances. Damp mopping with a pH-neutral cleaner can be less frequent, typically when the dry routine no longer keeps the surface looking clean. The balance shifts with foot traffic and with the finish; open-textured surfaces need more dry passes.
Can I use a normal household floor cleaner?
Check the label. Products described as acidic, descaling or heavy-duty are unsuitable for travertine. A pH-neutral stone cleaner is the safe default, used diluted as directed and applied with a damp mop.
Why does my polished travertine look dull in the walking path?
Dull traffic lanes usually reflect abrasion from grit rather than a cleaning failure. The practical response is more consistent dry removal at the entrances and in the lanes, plus a review of matting. Confirm with your supplier or a stone restoration specialist before attempting any re-polishing.
Does sealing mean the floor can be wet-mopped freely?
No. A penetrating sealer slows absorption; it does not stop it. The damp-mop rule and the dry-first order stay in place after sealing, and the sealer itself needs periodic renewal — test with a few water drops rather than relying on the calendar.
How do I clean an unfilled tumbled floor without pushing dirt into the pits?
Keep the work dry as long as possible: soft brush head, vacuum, frequent passes. For local damp cleaning, use a pH-neutral solution sparingly and blot the texture dry instead of flooding the surface.
Where the floor starts
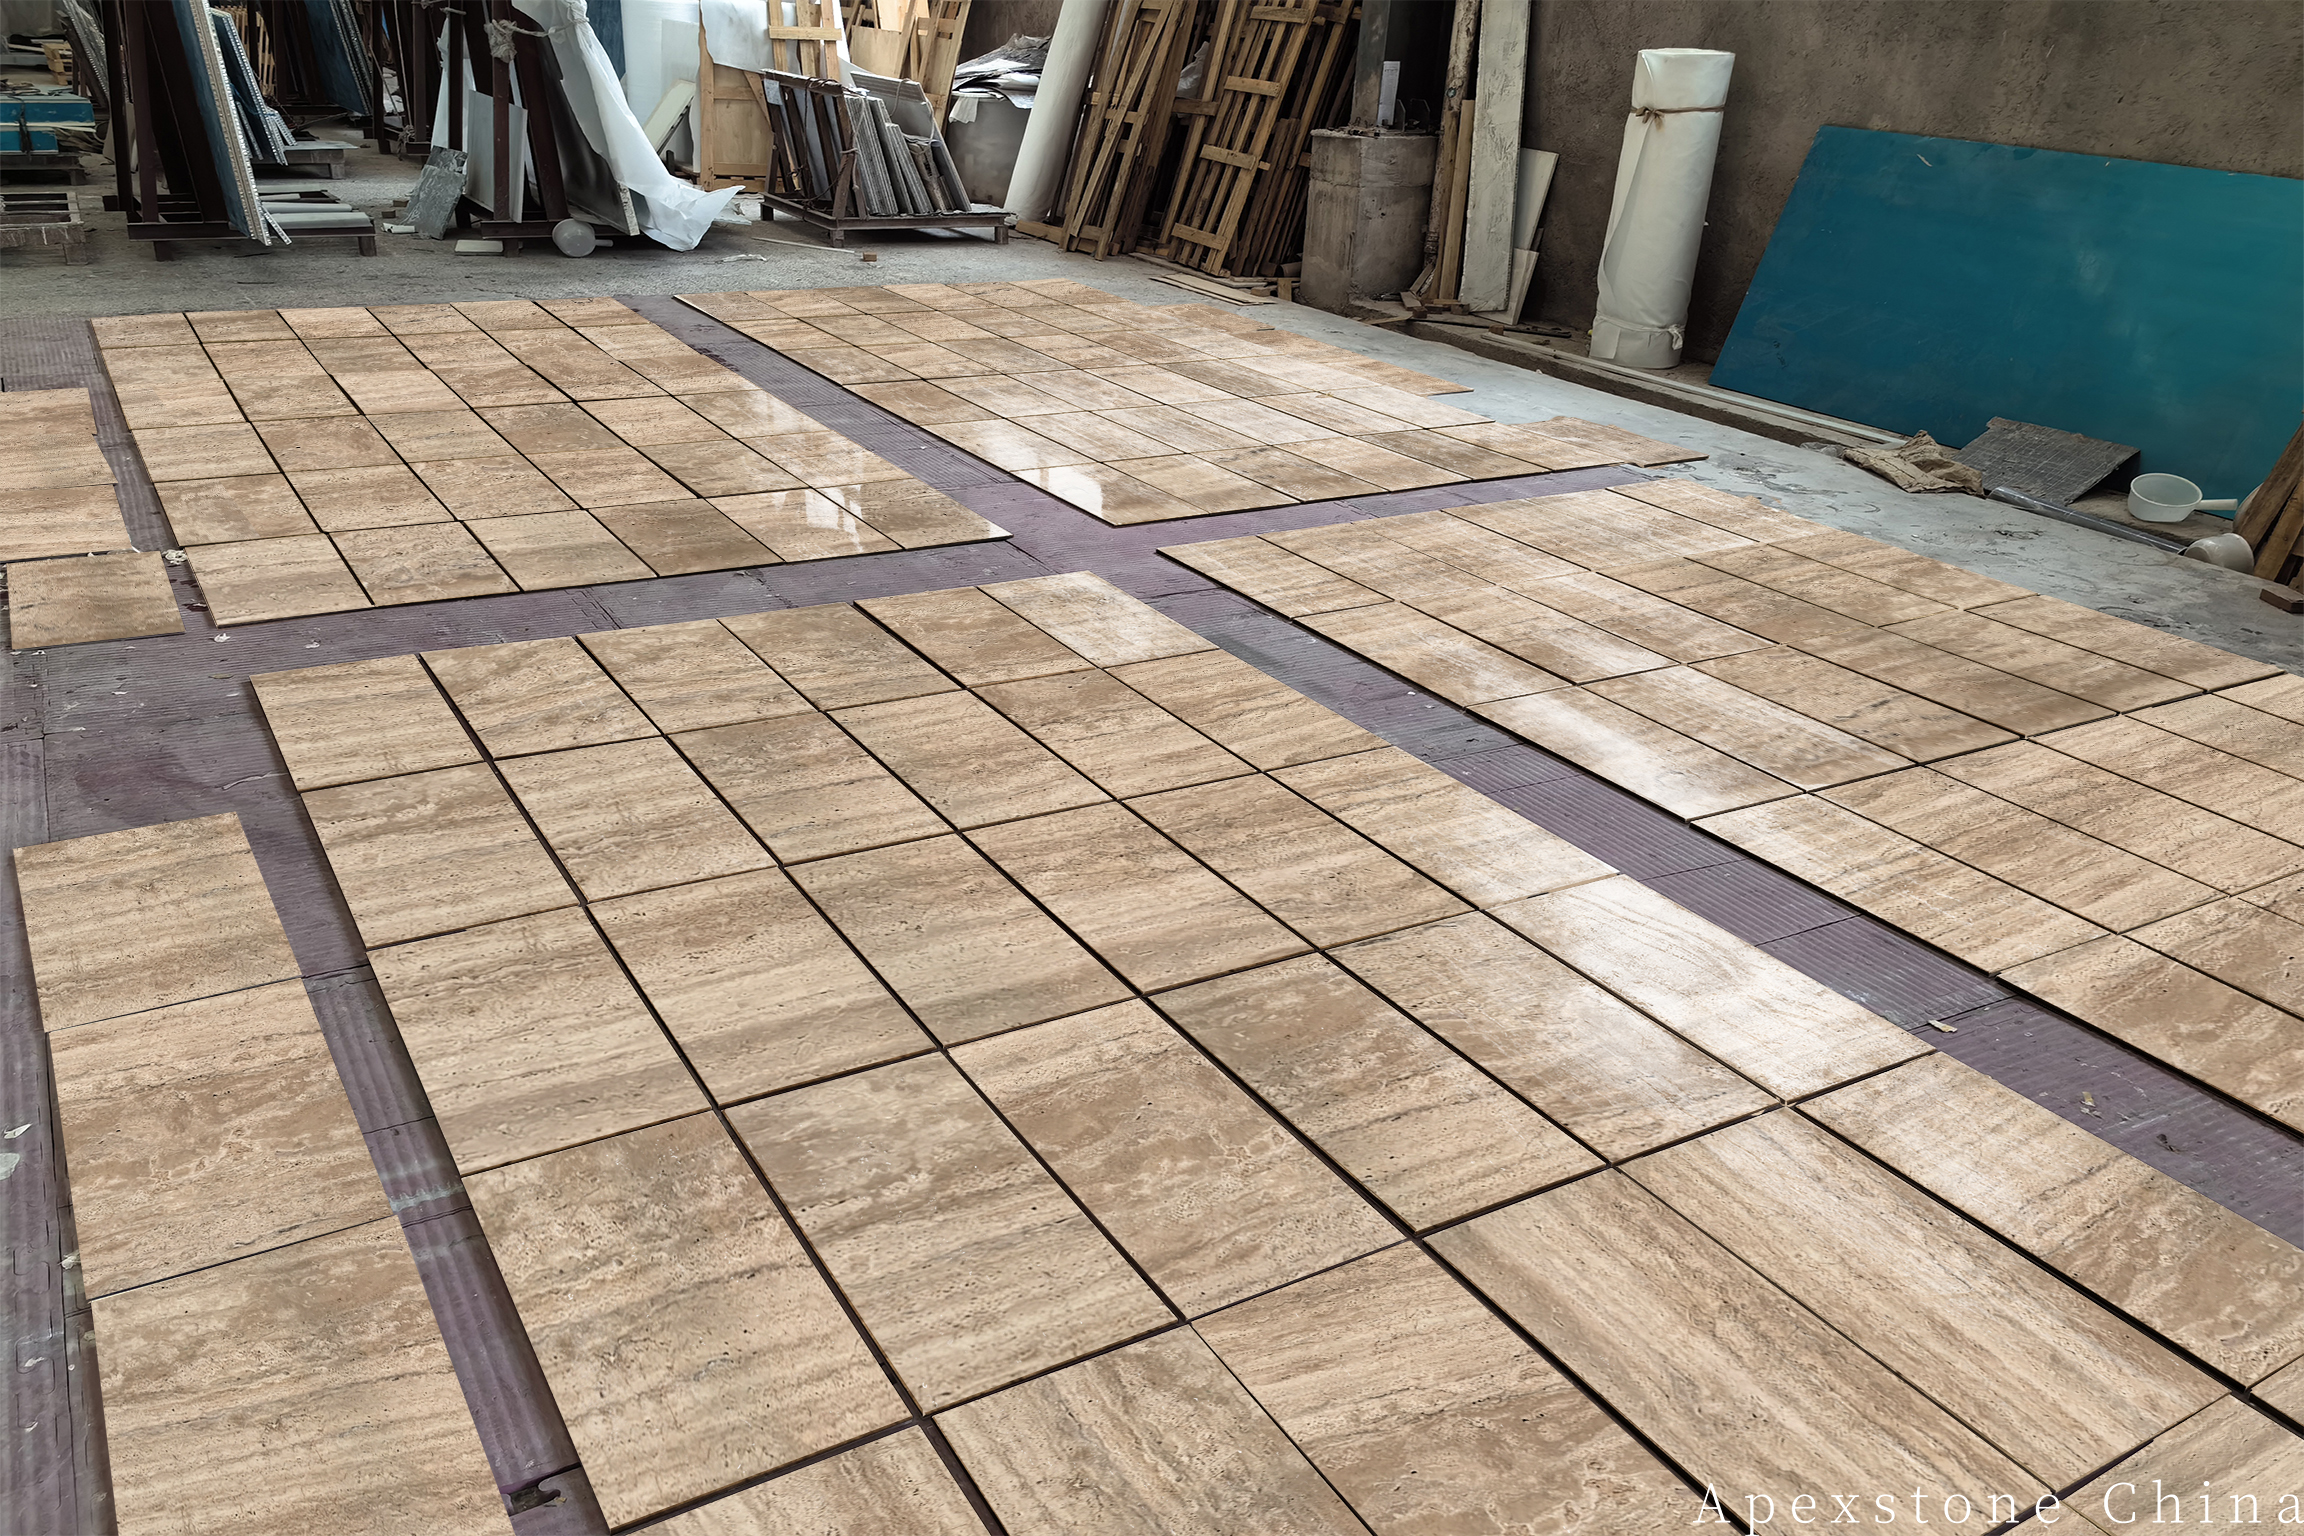
Care routines work best when the floor itself is laid to a consistent plane, because even grout lines and flat fields remove the ledges where grit and moisture collect. Travertine floor tiles supplied in 600x600 mm and 800x800 mm formats, calibrated to ±0.5 mm and 18 mm thick, are made for that kind of field. The Italian travertine Romano tiles are available in filled honed, filled polished, unfilled brushed and unfilled tumbled finishes, so the cleaning plan can be matched to the surface you actually install.
For projects where traffic is heavy or the finish choice is still open, ask the supplier which finish and sealer regime suits the application before the order is fixed — the maintenance routine follows from that decision.